HashX - Access Hashnode Blogs on every webpage
Introducing the world's first Hashnode Extension to read Hashnode blogs on every webpage.


Overview
HashX is a Chrome extension built on top of Hashnode APIs. This tool is super useful for the readers of Hashnode. Once you install this extension, you can read any blog of Hashnode on this small extension. Reading on HashX is an experience.
Here are some important links:
Extension on Chrome store - Link
Landing page - Link
GitHub - Link
16 days Hackathon Journey Series - Link
Demo video
In this entire Hackathon the major goal was to build something that would focus on the following things:
The usefulness of the project in a real-world scenario.
How easily people can use it!
Anyone from tech and non-tech backgrounds should be able to use it.
Build a seamless UI/UX, just like Hashnode, no matter how much time and energy it will take. Because I believe experience is all that matters the most.
This was not an easy one, but a journey full of adventures 🔥

Development Journey of HashX:
Considering the mentioned points in mind the majorchallenge here was to complete the product-building, ideation, branding, content, wireframing, etc. in just 16 days, and that is the reason I decided to break down this product-building process into three parts first, the brainstorming and ideation, second is wireframing and third is Product development.
Phase 1 - Brainstorming and Product Ideation
On the 18th of Jan, 2024, I saw an announcement tweet by Sandeep, CEO of Hashnode, about the Hashnode hackathon. I was super excited about this but was not sure what to build. And Phase 1 started.

There were two tracks here:
1. Build an interesting integration using Hashnode's GraphQL APIs and
2. Create a new starter kit theme
After exploring the API docs, I decided to go with track 1. I wanted to build something that covers the major target audience of the Hashnode and should be easy to use, so I decided to build a Chrome Extension.
Hashnode already has a seamless blog writing experience, so there was no point in building it again. So the question was:
"What Problem will this extension solve?"
The answer was "Readers". People often don't read articles because it takes effort for them to go to the platform and then scroll through and then read articles. I decided to solve this problem by giving easy access to the Hashnode blogs so that they can scroll through the feeds just like we do on other social media like Twitter, and read articles on the extension itself. And this is the reason I had to focus a lot on the UI/UX of this tool.
Since I wanted to build a Chrome extension version of Hashnode, I just named it HashX. The ideation phase was not just the initial 2-3 days, I implemented features in the last 2-3 days of the hackathon also. But the major scope of work was decided in the initial 3 days only.
Since now I decided to build a Chrome extension, It was important for me to understand what data I could use from the Hashnode APIs. I saw that they use GraphQL , and I was not at all familiar with it. I spent some time playing around with the queries and tried checking all the queries in the docs to check what data am I getting. I was writing down the major structure of data that can be useful to me for building this product. Majorly I needed feeds, user info, and blog data.
I have documented my 16-day journey in 16 different blogs with all the challenges came across while building this product. Click here to read my journey.
The next Phase was Designing to get better clarity on the UI of the product.
Phase 2 - Designing
It is always a good habit to prepare a rough wireframe before starting to build any type of product that will give you better clarity about the features and also the UI of the product that you are trying to build which will indirectly save a lot of time during the development phase.

This is my third ever product that I will be building and I never compromise much on the UI/UX part of the product because I believe in giving the best experience to the users so that they can recall the brand because of the good experience that they have had using that particular tool. Just like Hashnode :)
Keeping things simple, decide to have a side navigation bar, with a bunch of different interfaces on the main screen, just like any other dashboard.
As mentioned previously, I had a deep walk-through of the Hashnode API for 3 days so was aware of what type of data I had access to and that helped me in this entire design process.
I use Excalidraw for wireframing, it is simple and easy to use. Here are a few of the wireframes:
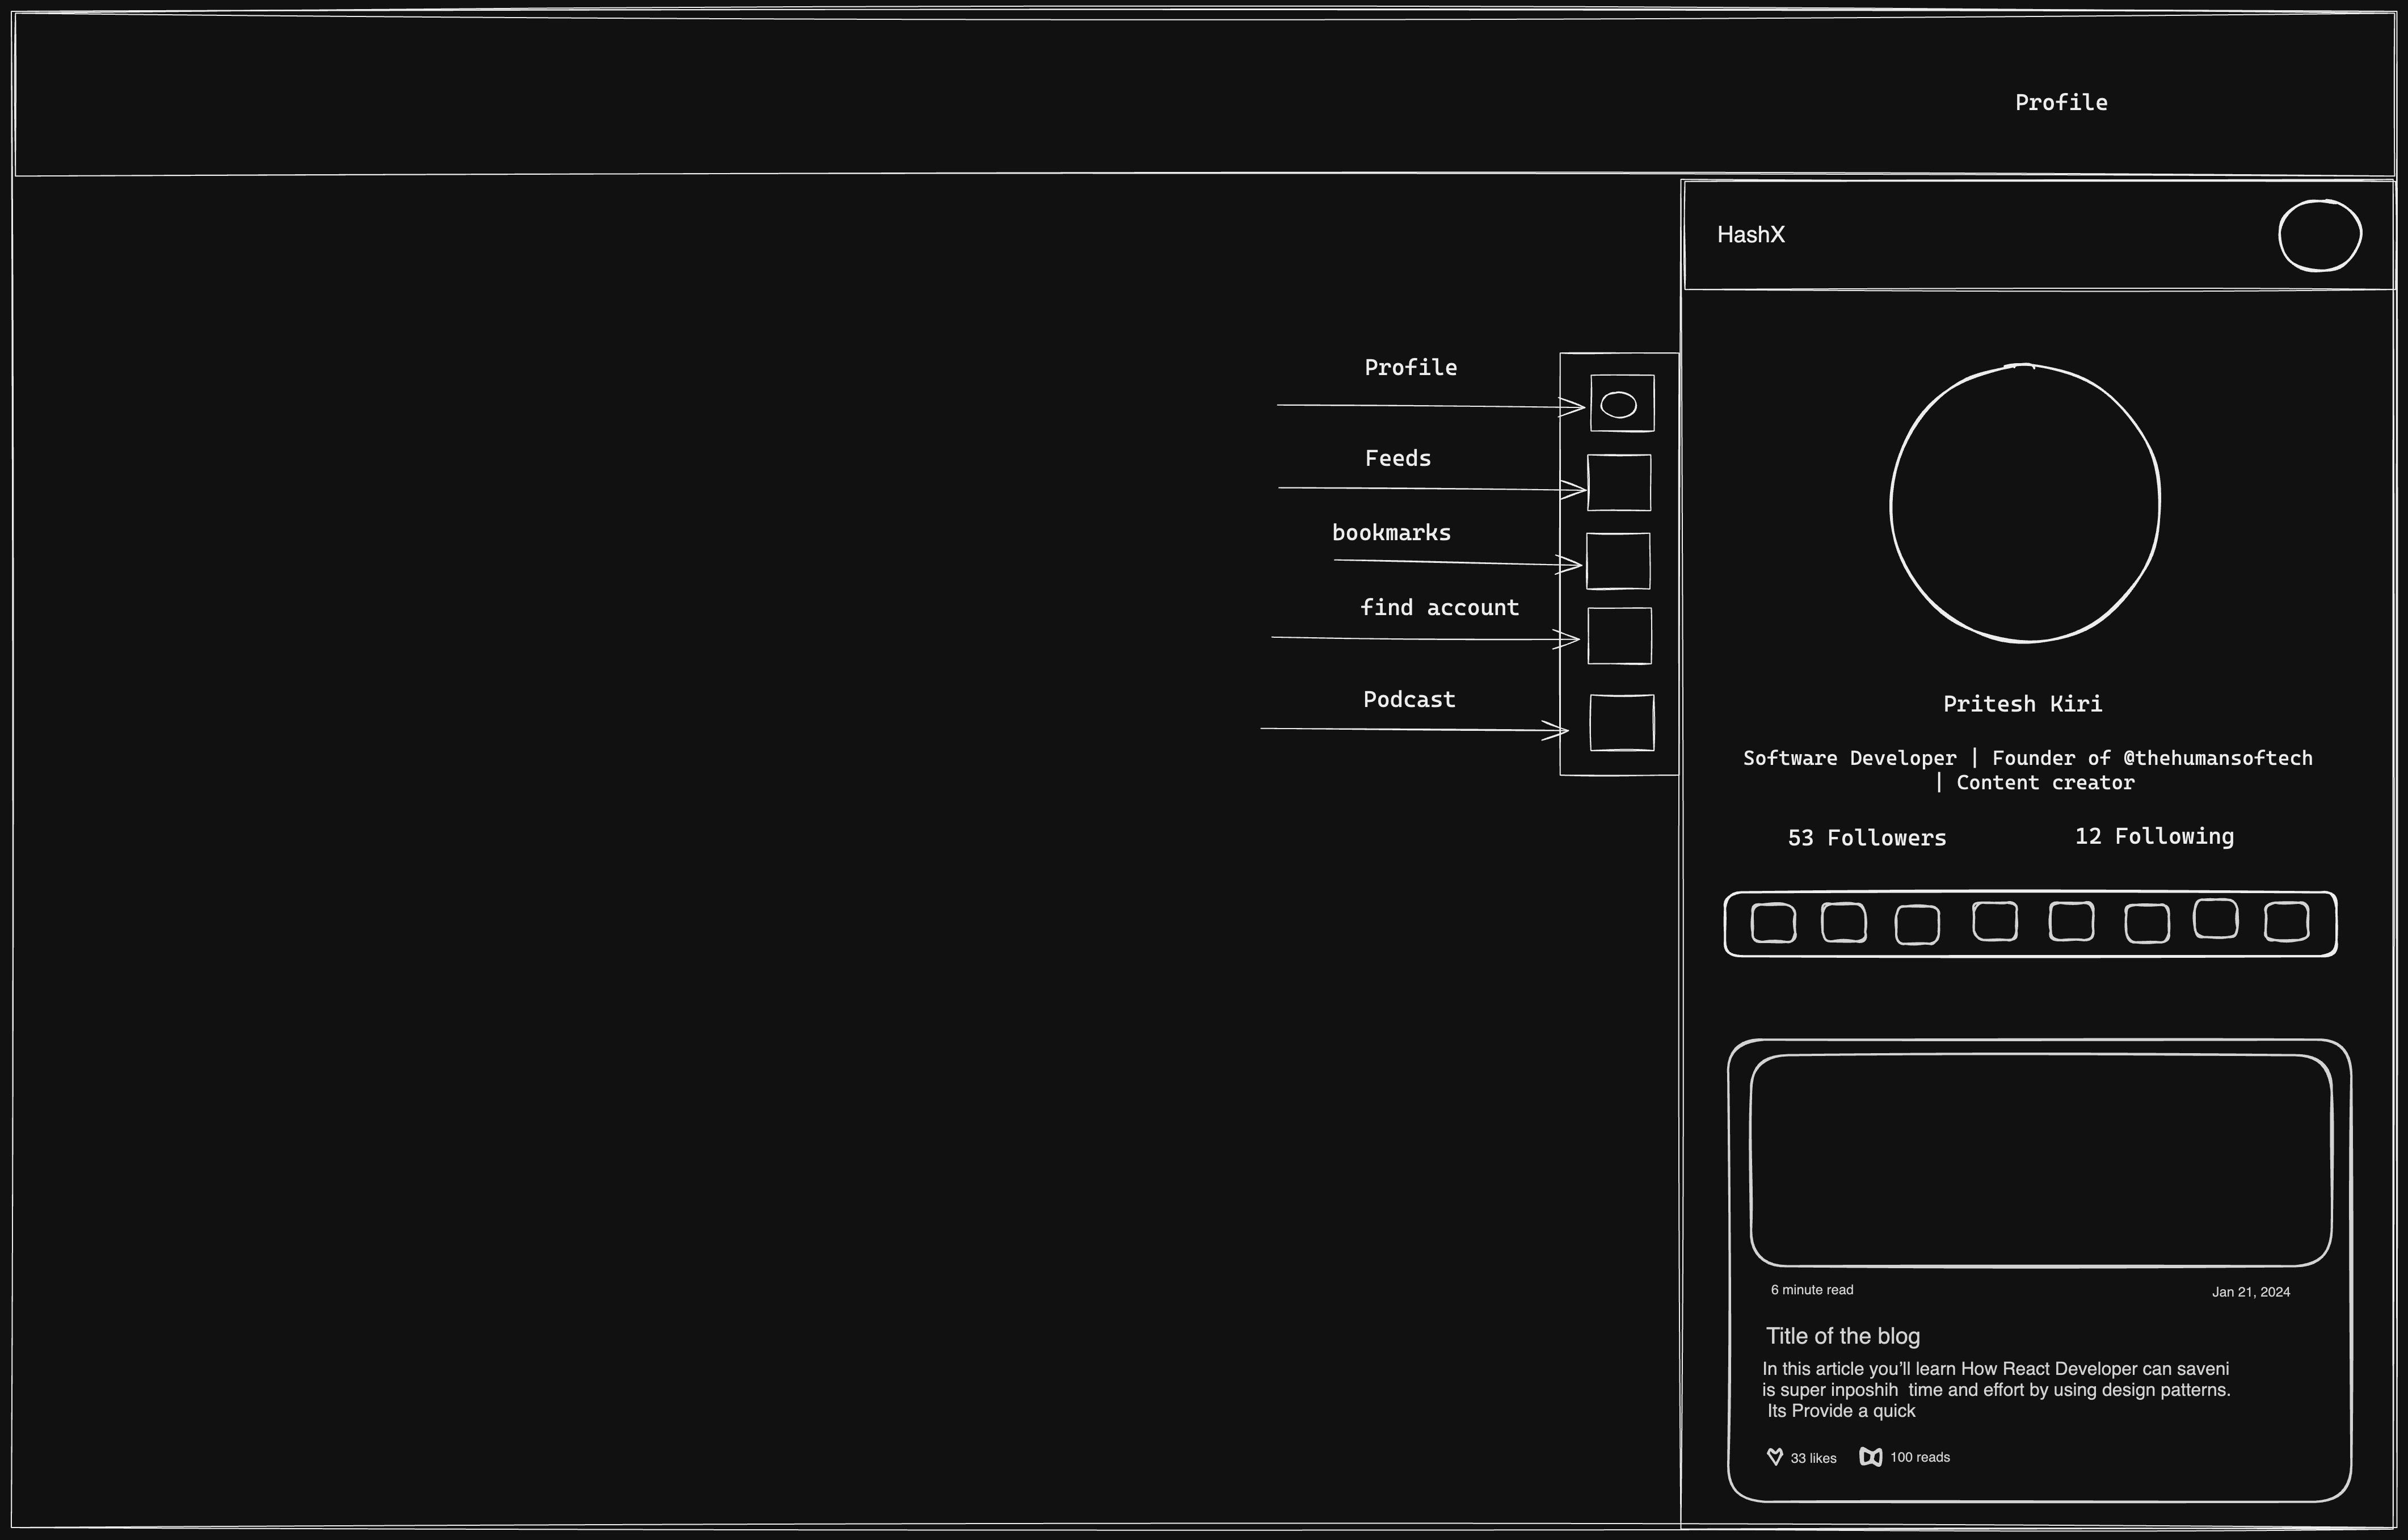
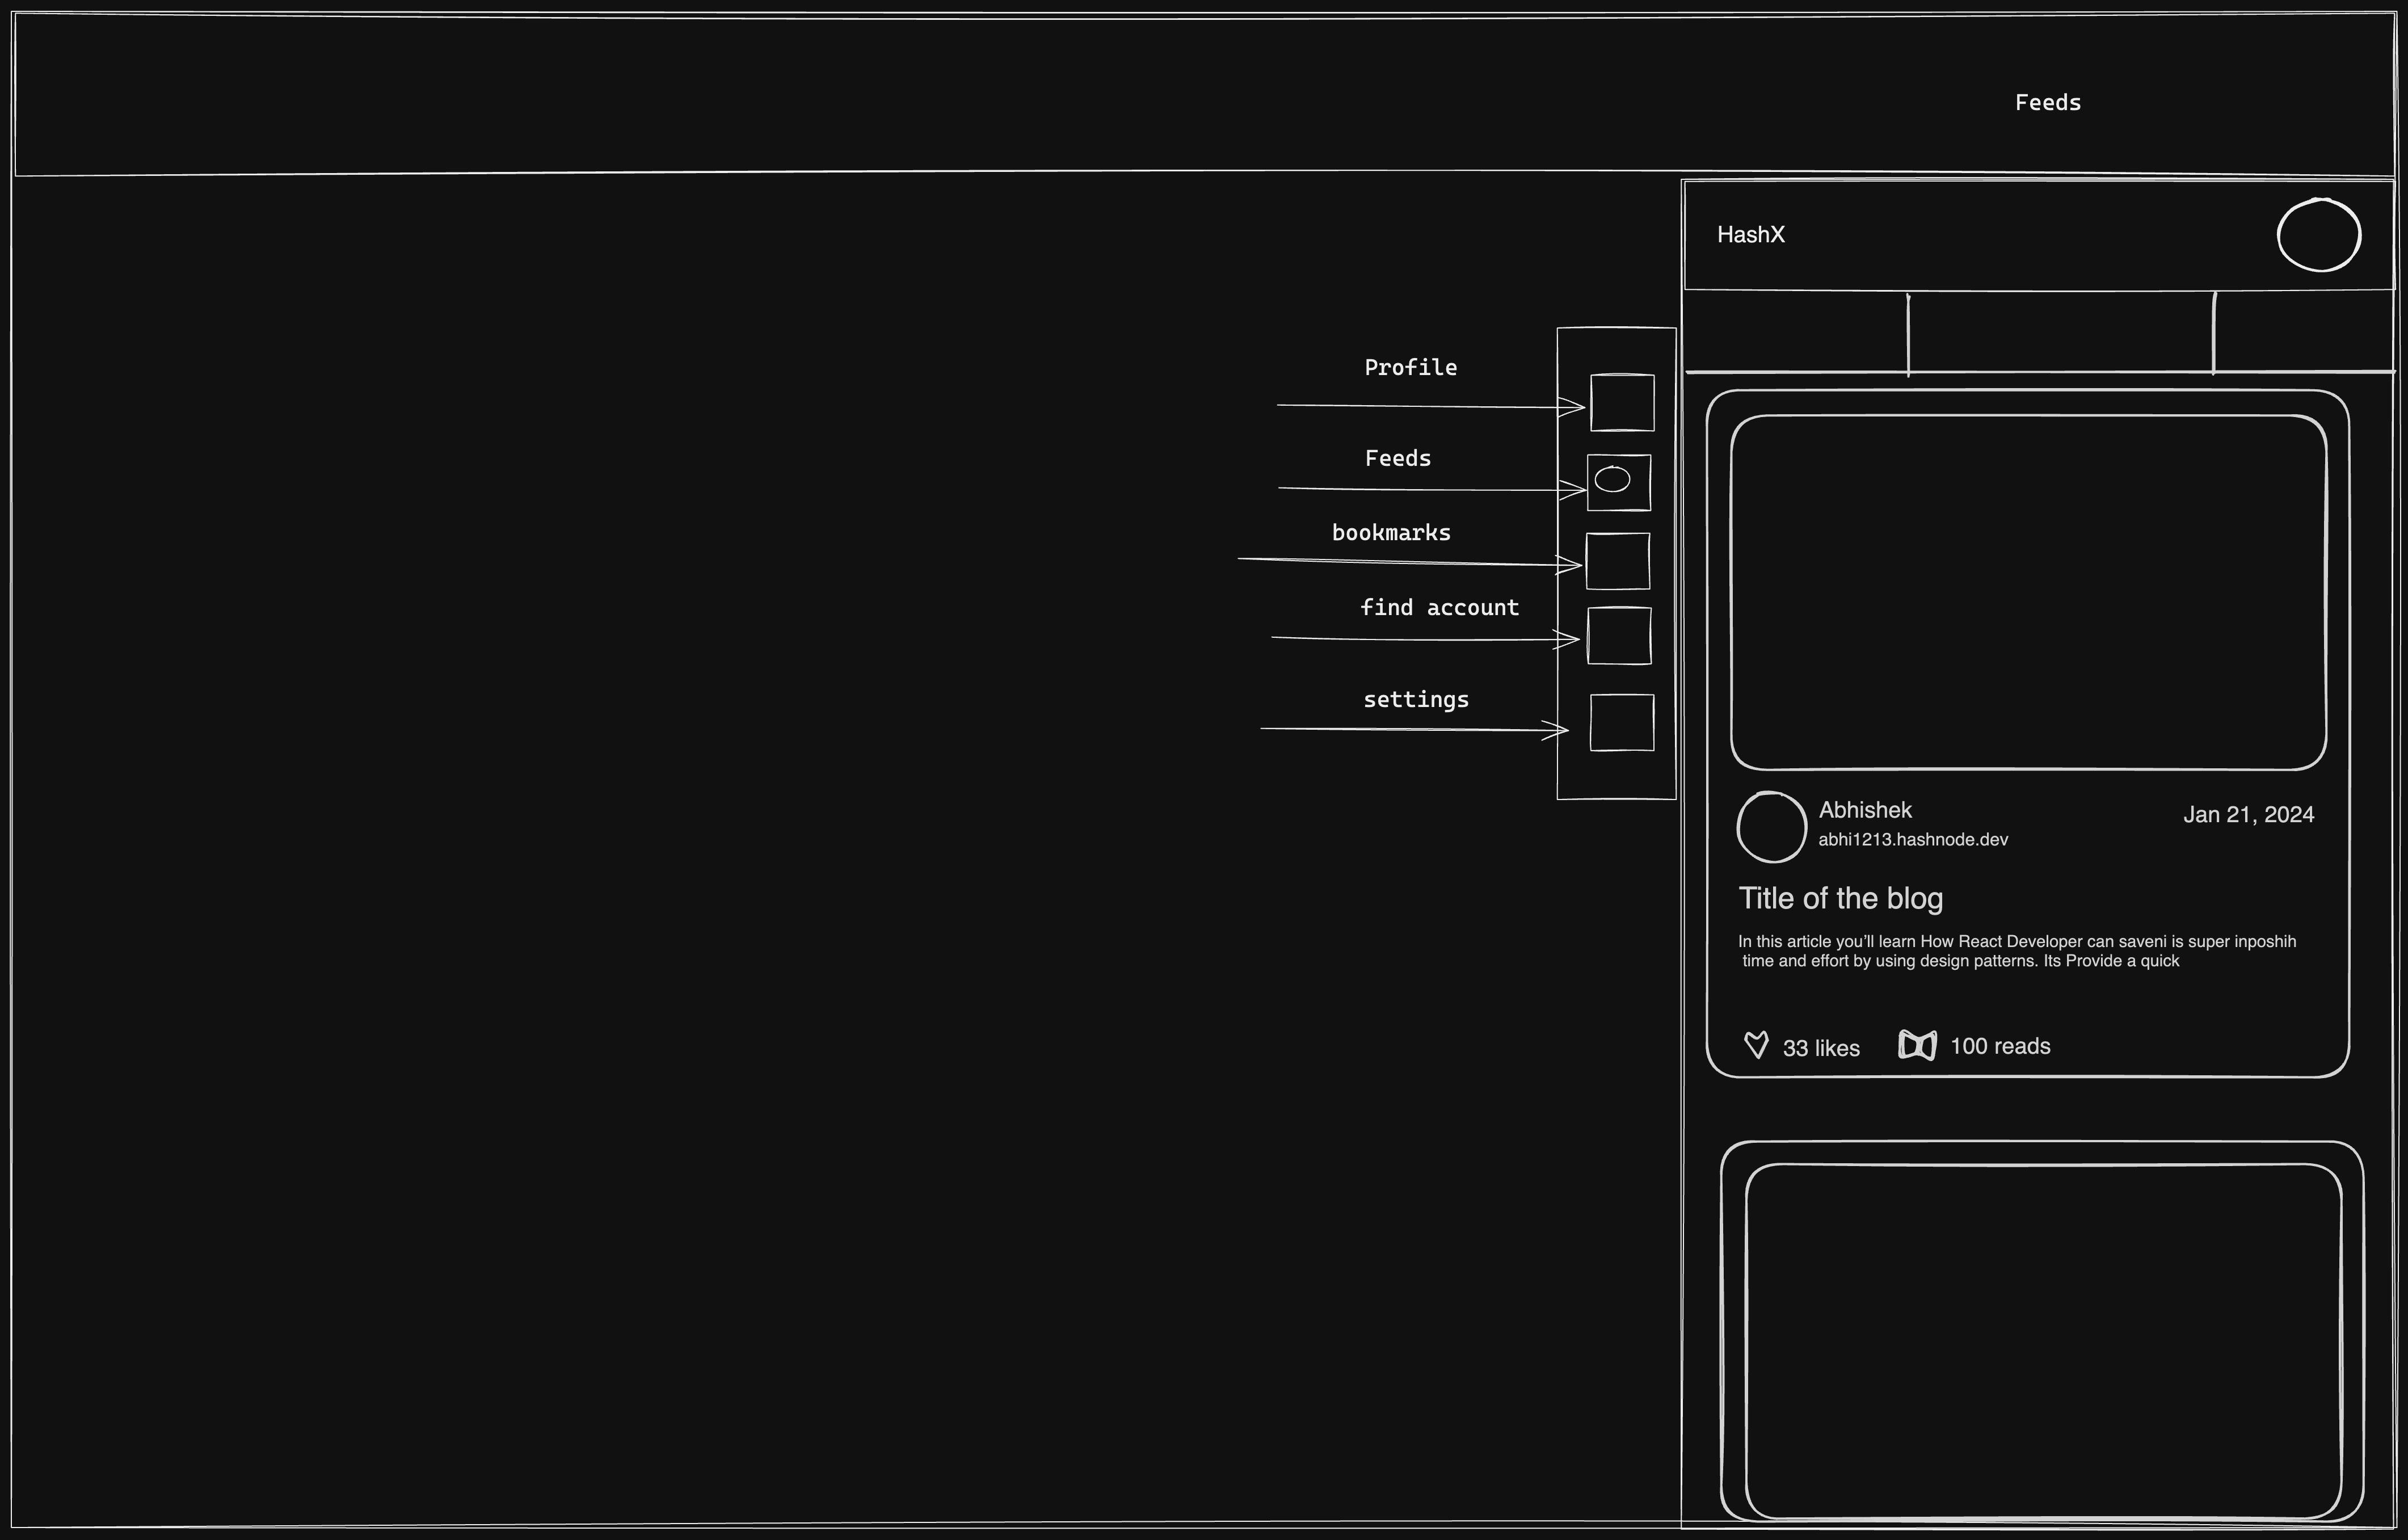
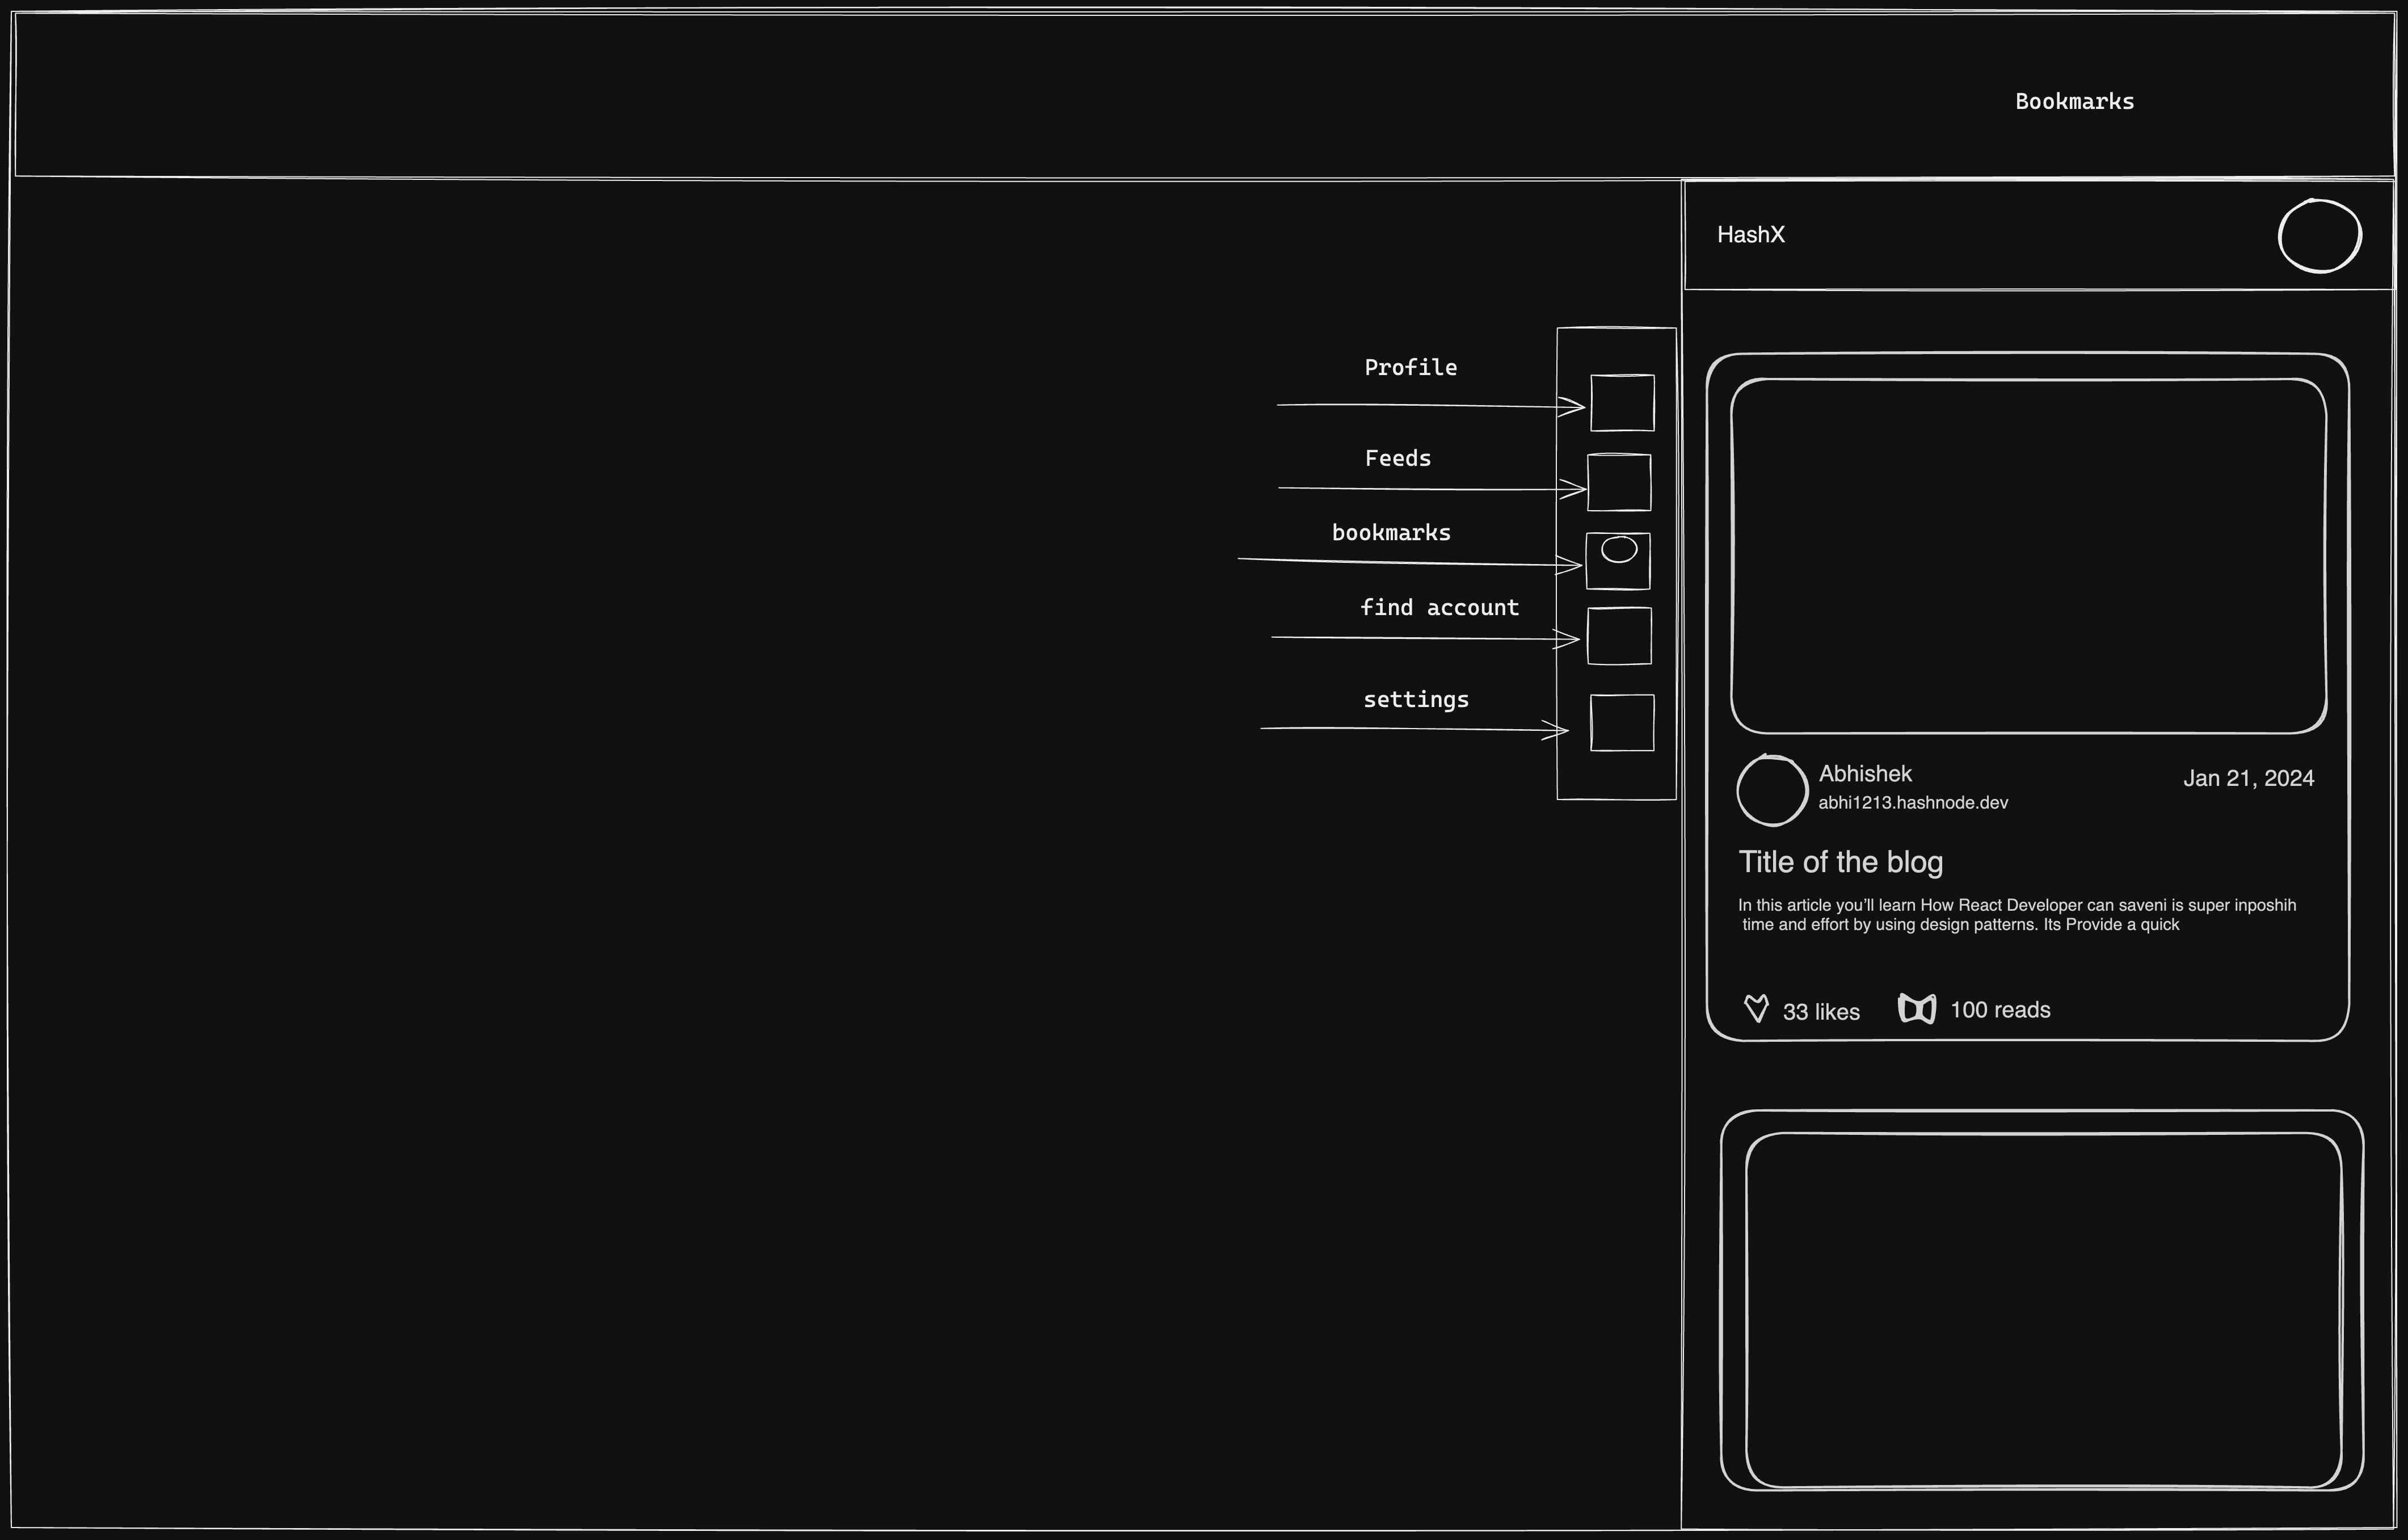
You might see a difference between the final product and the wireframe because I was experimenting with a lot of things also along with building the UI, but over all the structure of the application was decided during the design phase and it helped me a lot and the development phase.
I decided the design of the blog should be similar to the Hashnode platform, so don't have to worry about its design.
Now comes the super crucial and most advantageous part of my journey.
Phase 3 - Product Development
When I saw the Hashnode API document for the first time, I was aware that this was going to be a super challenging one. Because I have never used GraphQL API in any of my projects in my entire tech career. But I knew that I would figure it out and somehow I did and the final product is something I am very proud of right now.

I initially spent 2-3 days understanding GraphQL, how to use it, and how to use the Hashnode API playground and the Apollo Client for GraphQL. This process was time-consuming at first, but eventually, things started to improve.
The original plan did not involve authenticating users with a personal access token; it just required users to enter a username.
However, I realized that enhancing user engagement by allowing them to browse and read more articles in the feeds would be beneficial. To achieve this, I needed to implement user authentication, which significantly expanded the scope of work and introduced many challenges in ensuring a seamless UX and functional experience. I also encountered difficulties using the Apollo Client with authentication, but over time, these issues were resolved, and everything began to function correctly.
As I spent more time developing this tool, I added additional features to enhance the user experience, enabling them to explore more content. This led to the implementation of features like exploring user profiles from feeds and a search function, allowing users to engage just like they do on the Hashnode platform.
The code structure was not that complicated:
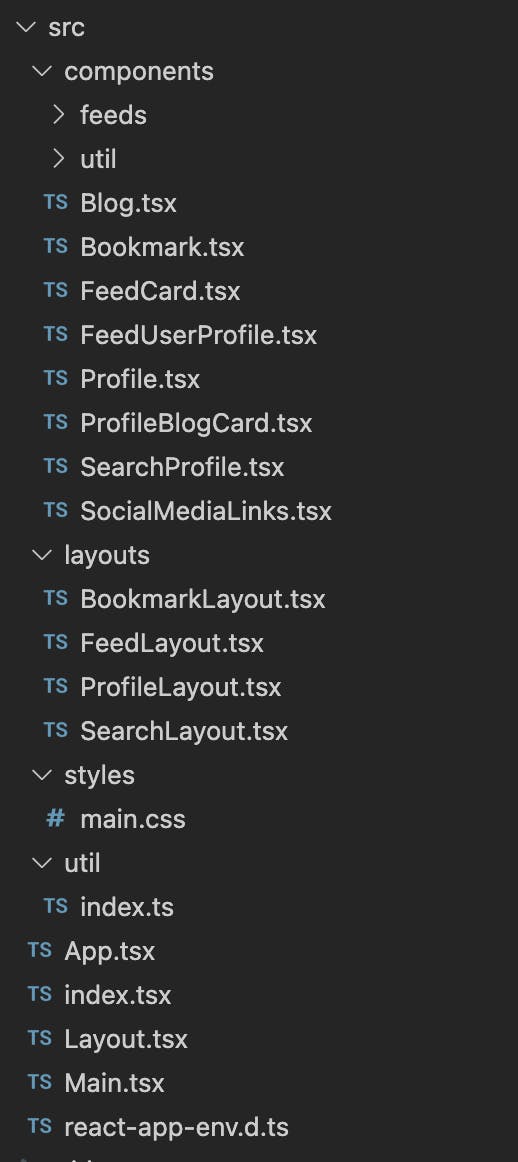
As you can see there was one main layout and 4 sub layouts, with the components in the respective layouts. I tried my best to reuse the components to keep the code clean and short.
The goal was to complete the Chrome extension within 10 days and publish it to the Chrome Web Store, which would take an additional 5 days for review, aiming for it to go live by the hackathon deadline. Unfortunately, numerous obstacles along the way made this timeline unfeasible.
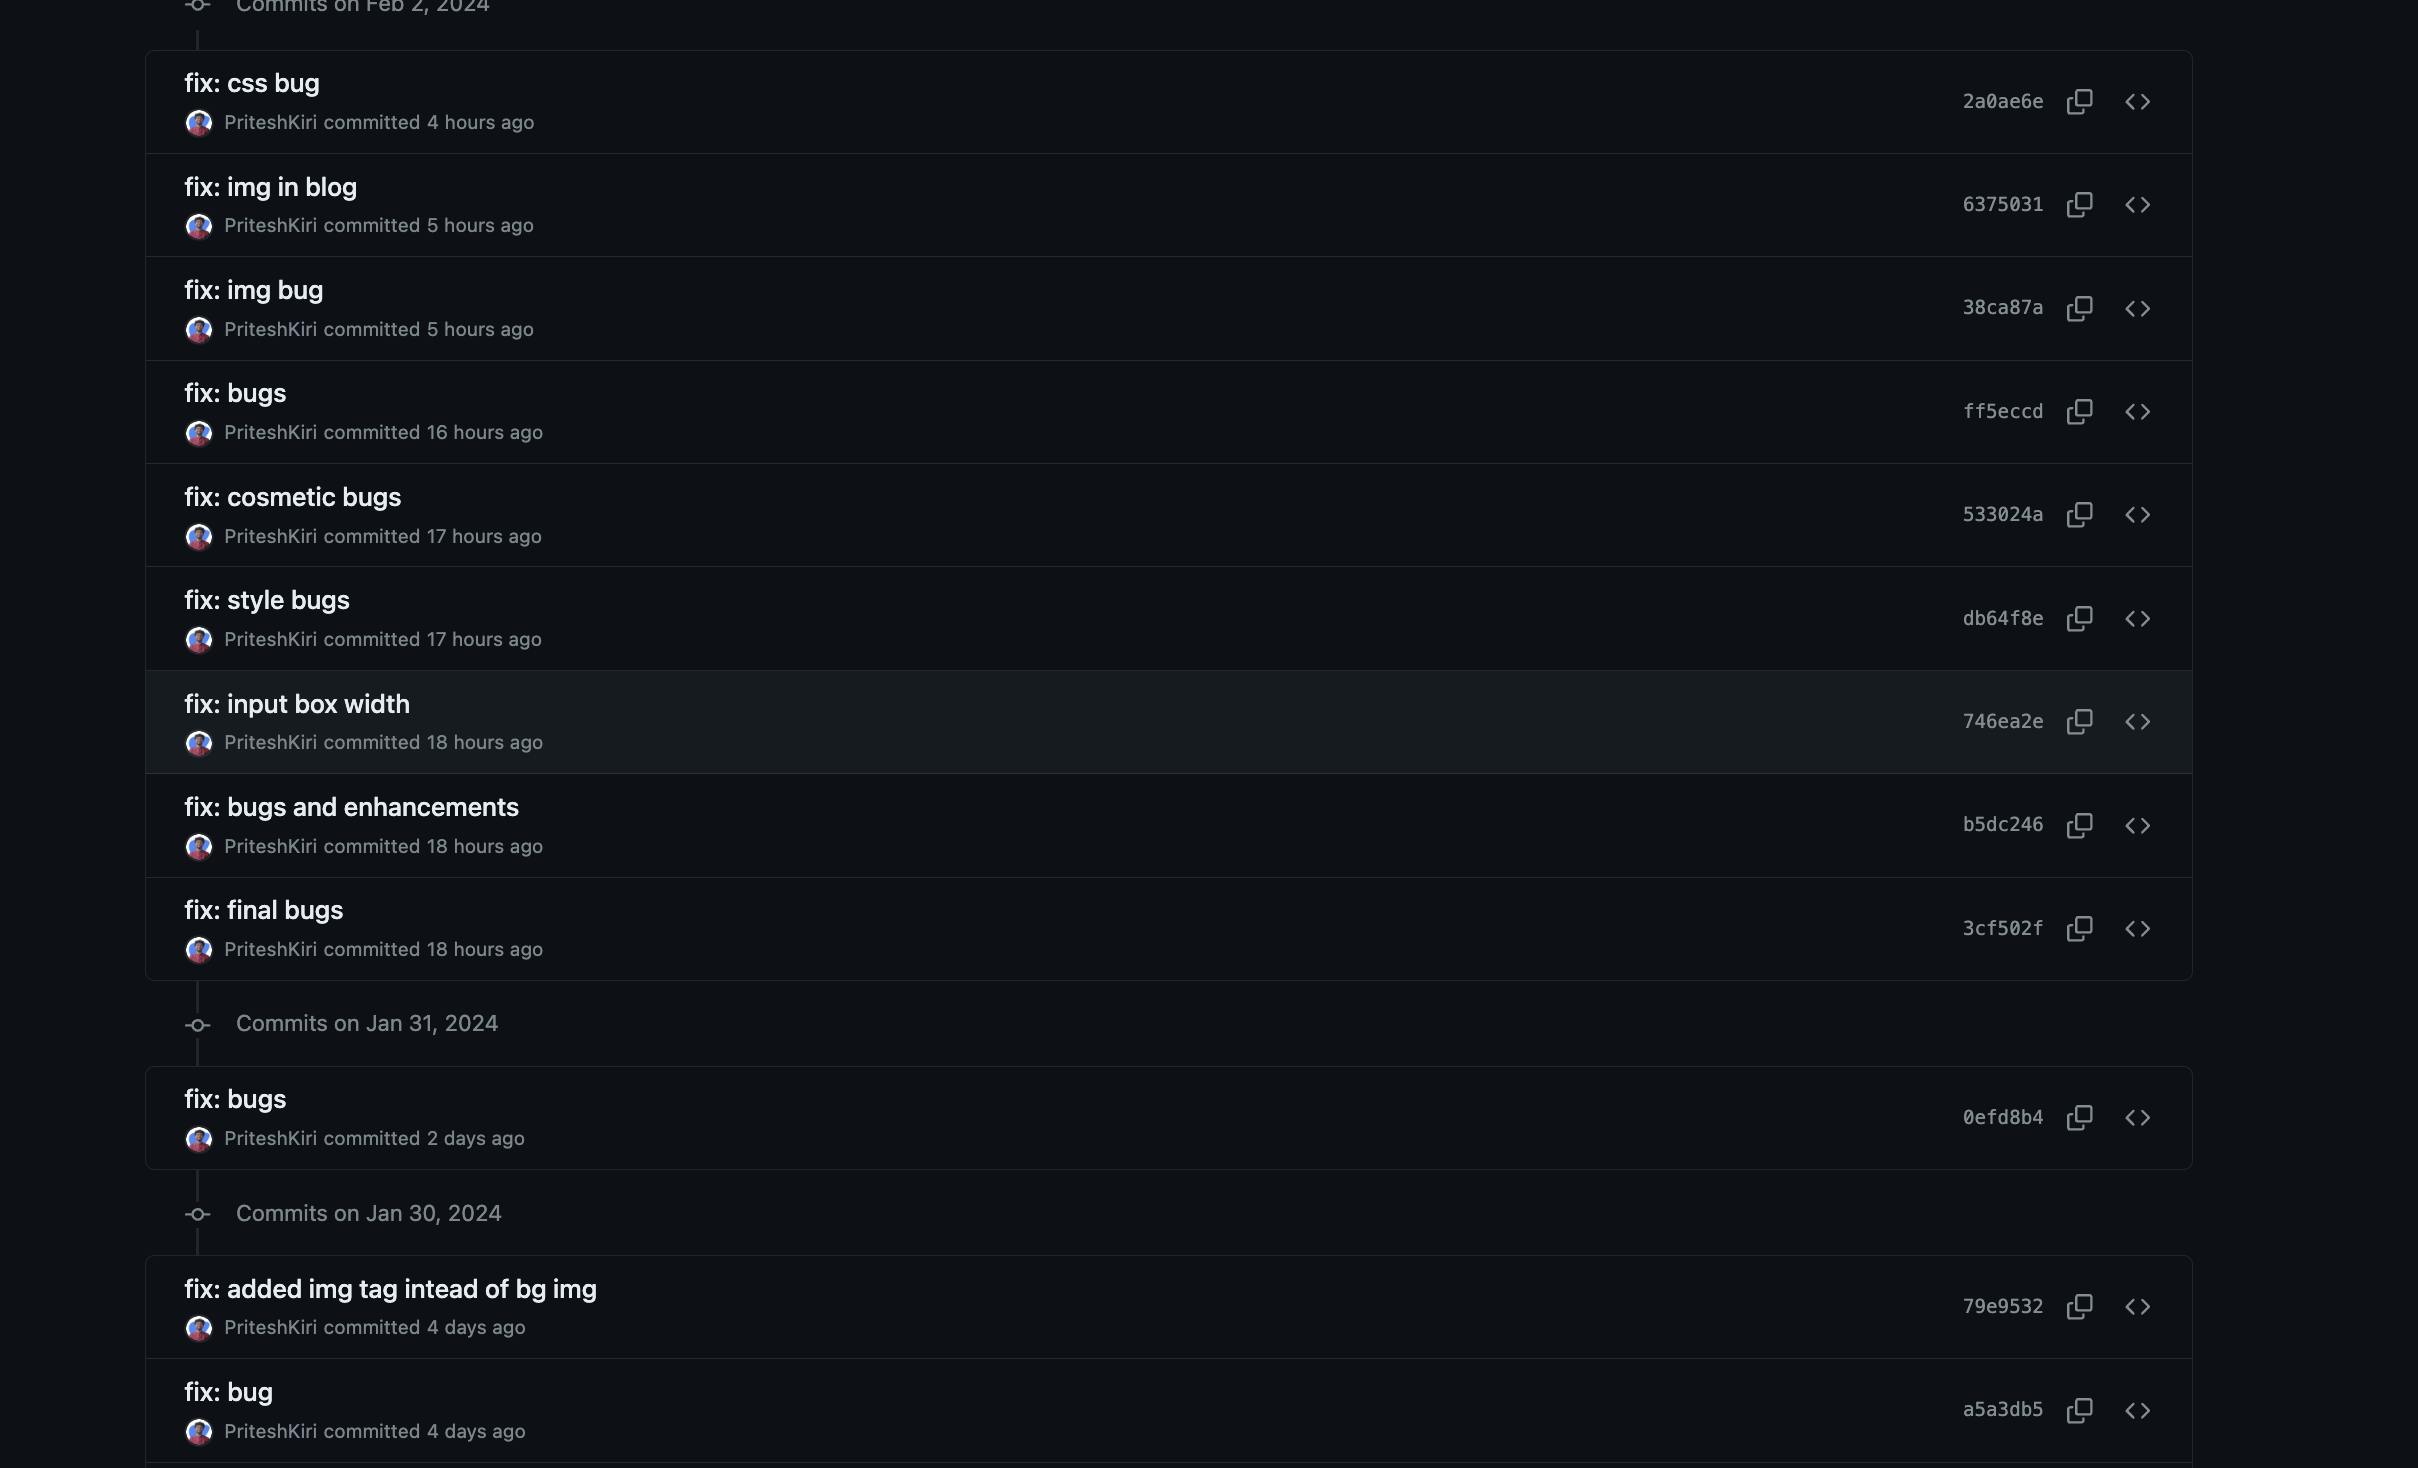
In the last 5 days, significant efforts were dedicated to fixing bugs, and UI enhancements such as color gradients, screen size adjustments to improve responsiveness, etc. And this is because,
The big challenge was CSS conflicts between the Chrome Extension and the websites where the extension was active. But these CSS bugs were fortunately resolved during this period only. Extensive testing was necessary to ensure the extension was not breaking any website's styling, which was a big task but ultimately rewarding as the extension now functions correctly across all tested websites.
let me show you the GitHub commits of the extension in the last three days:
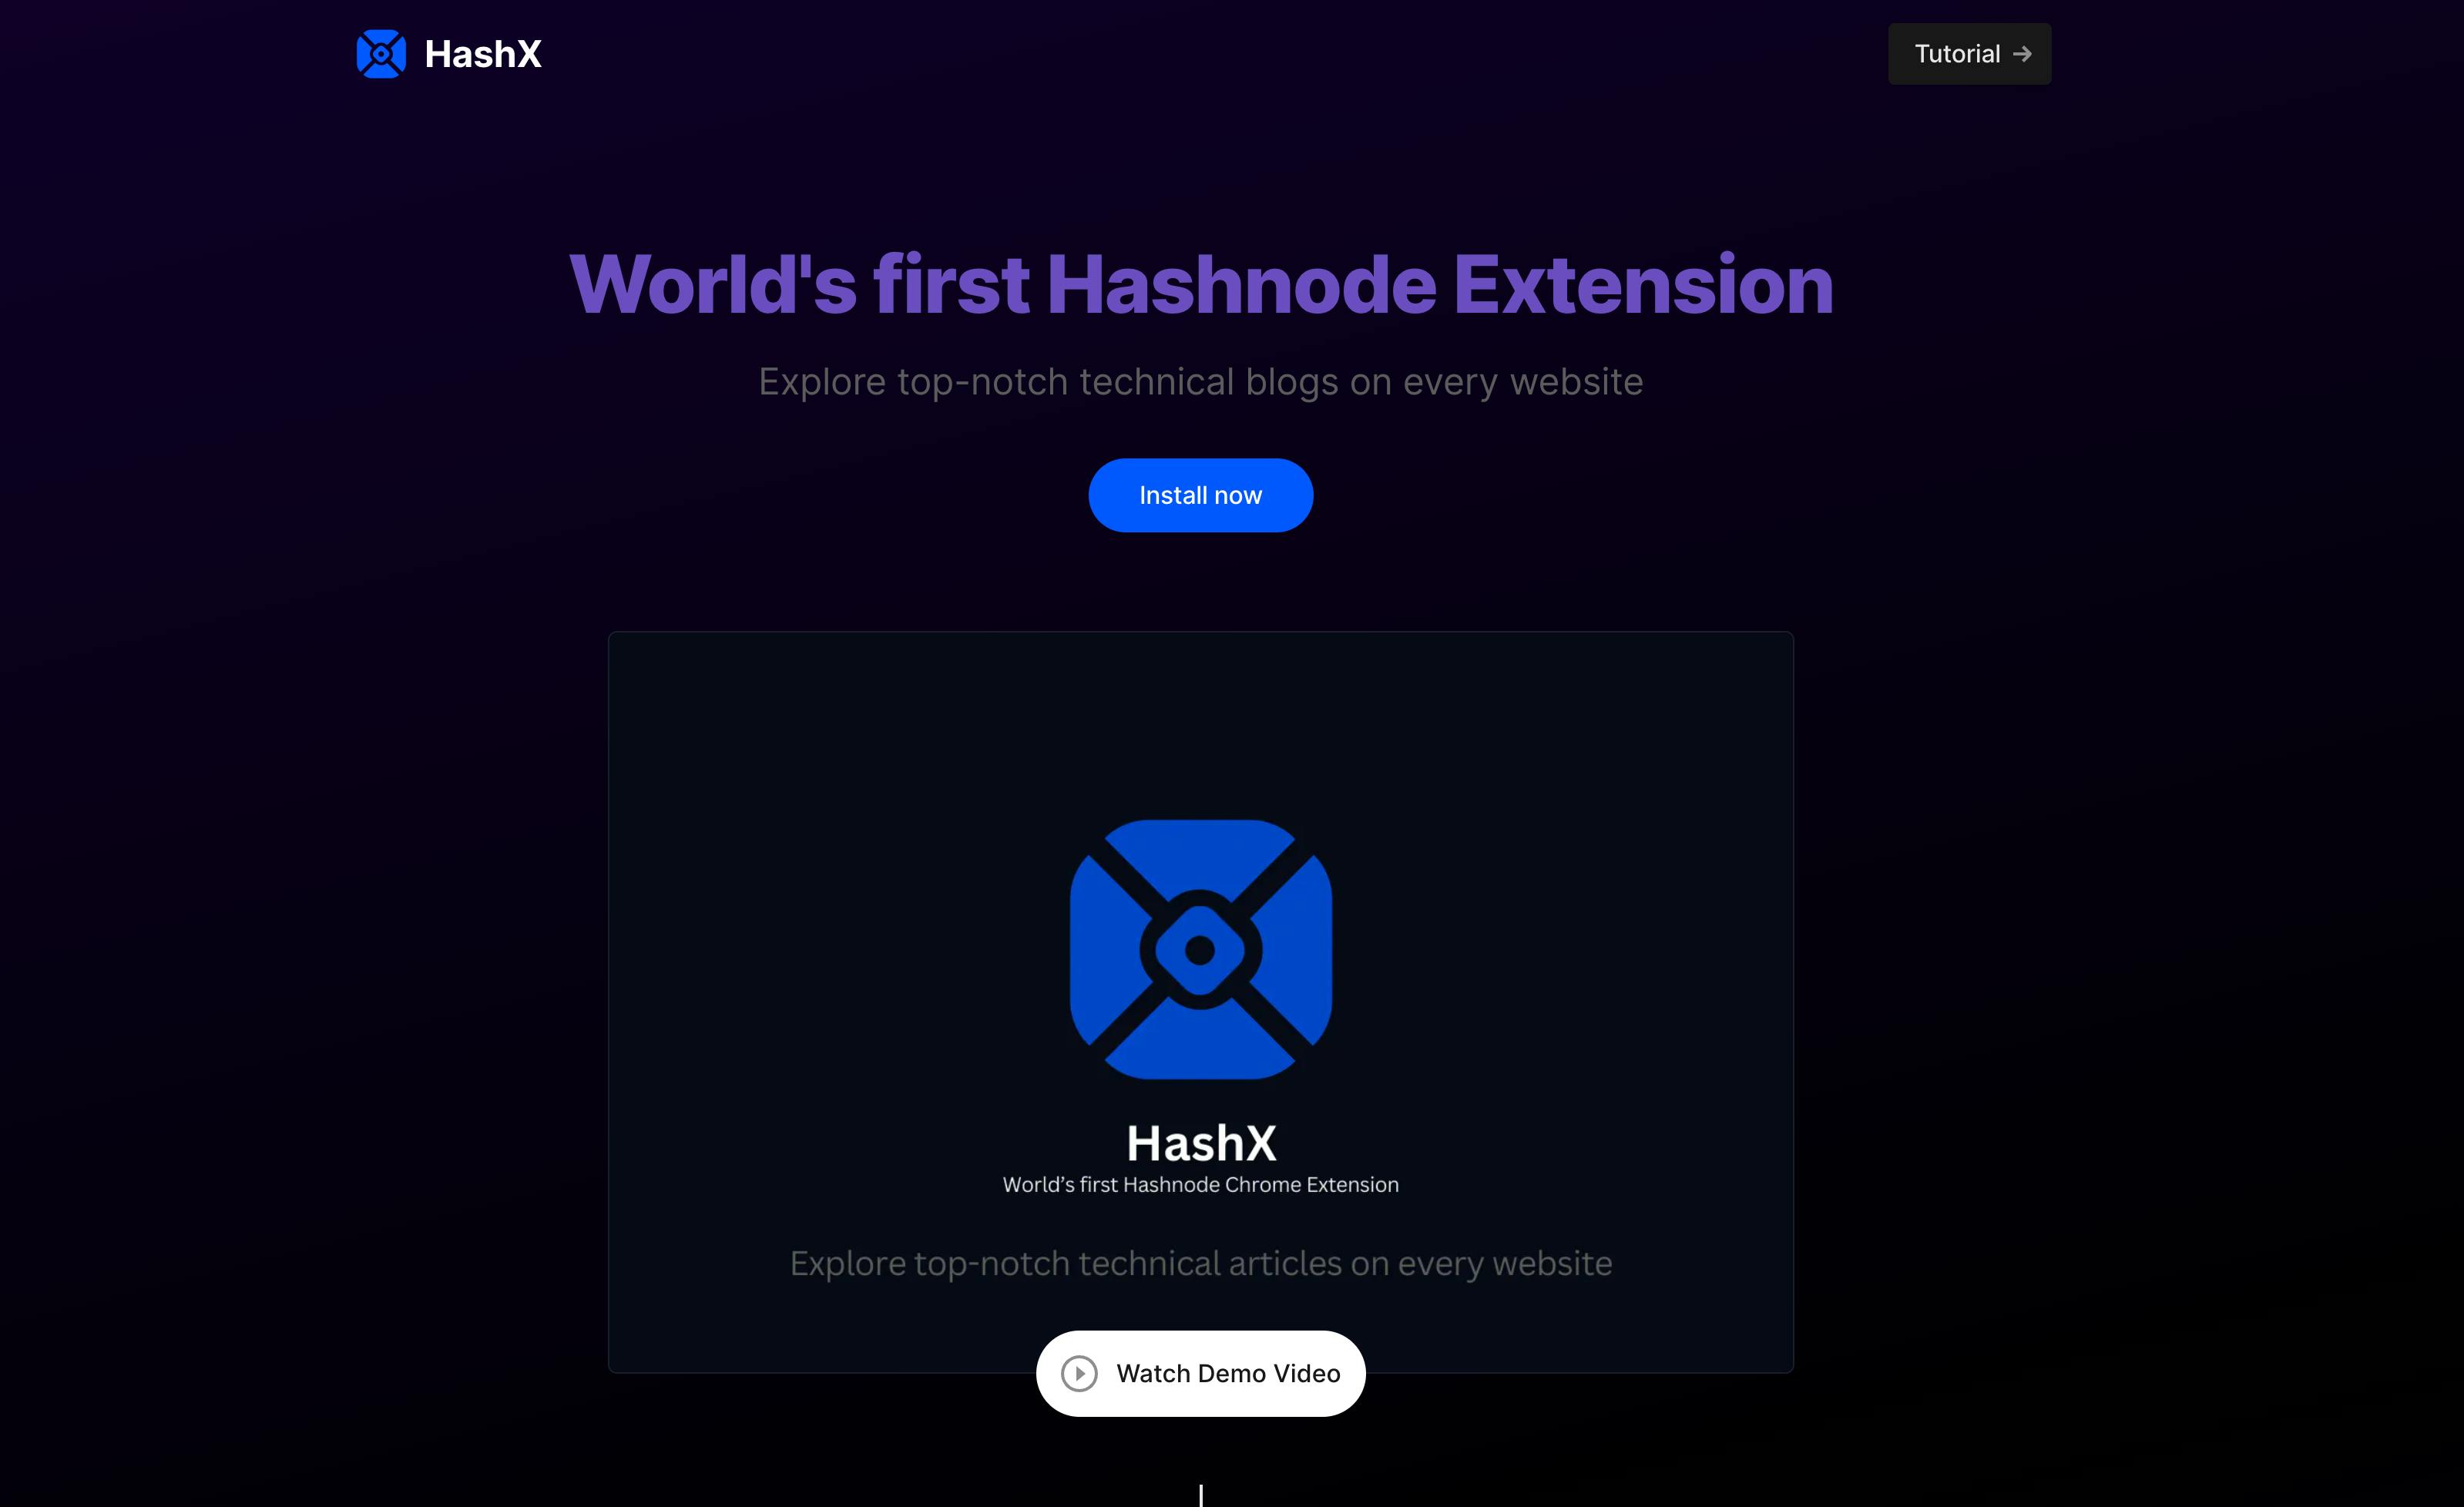
I also wanted to build a landing page for this product because I wanted it to be launched like a Product and not just another Hackathon Project. Here is the link to the Landing page. I always prefer Nextjs and Tailwind when it comes to building quick landing pages.
This was one of the best Hackathon I have ever been to. Now let me show you the major features of this amazing tool.
Features of HashX
With HashX, you can use Hashnode's features anywhere on the web—be it reading blogs, exploring profiles, scrolling through your feeds, or managing bookmarks, all without leaving your current webpage. Here are some of the key features:

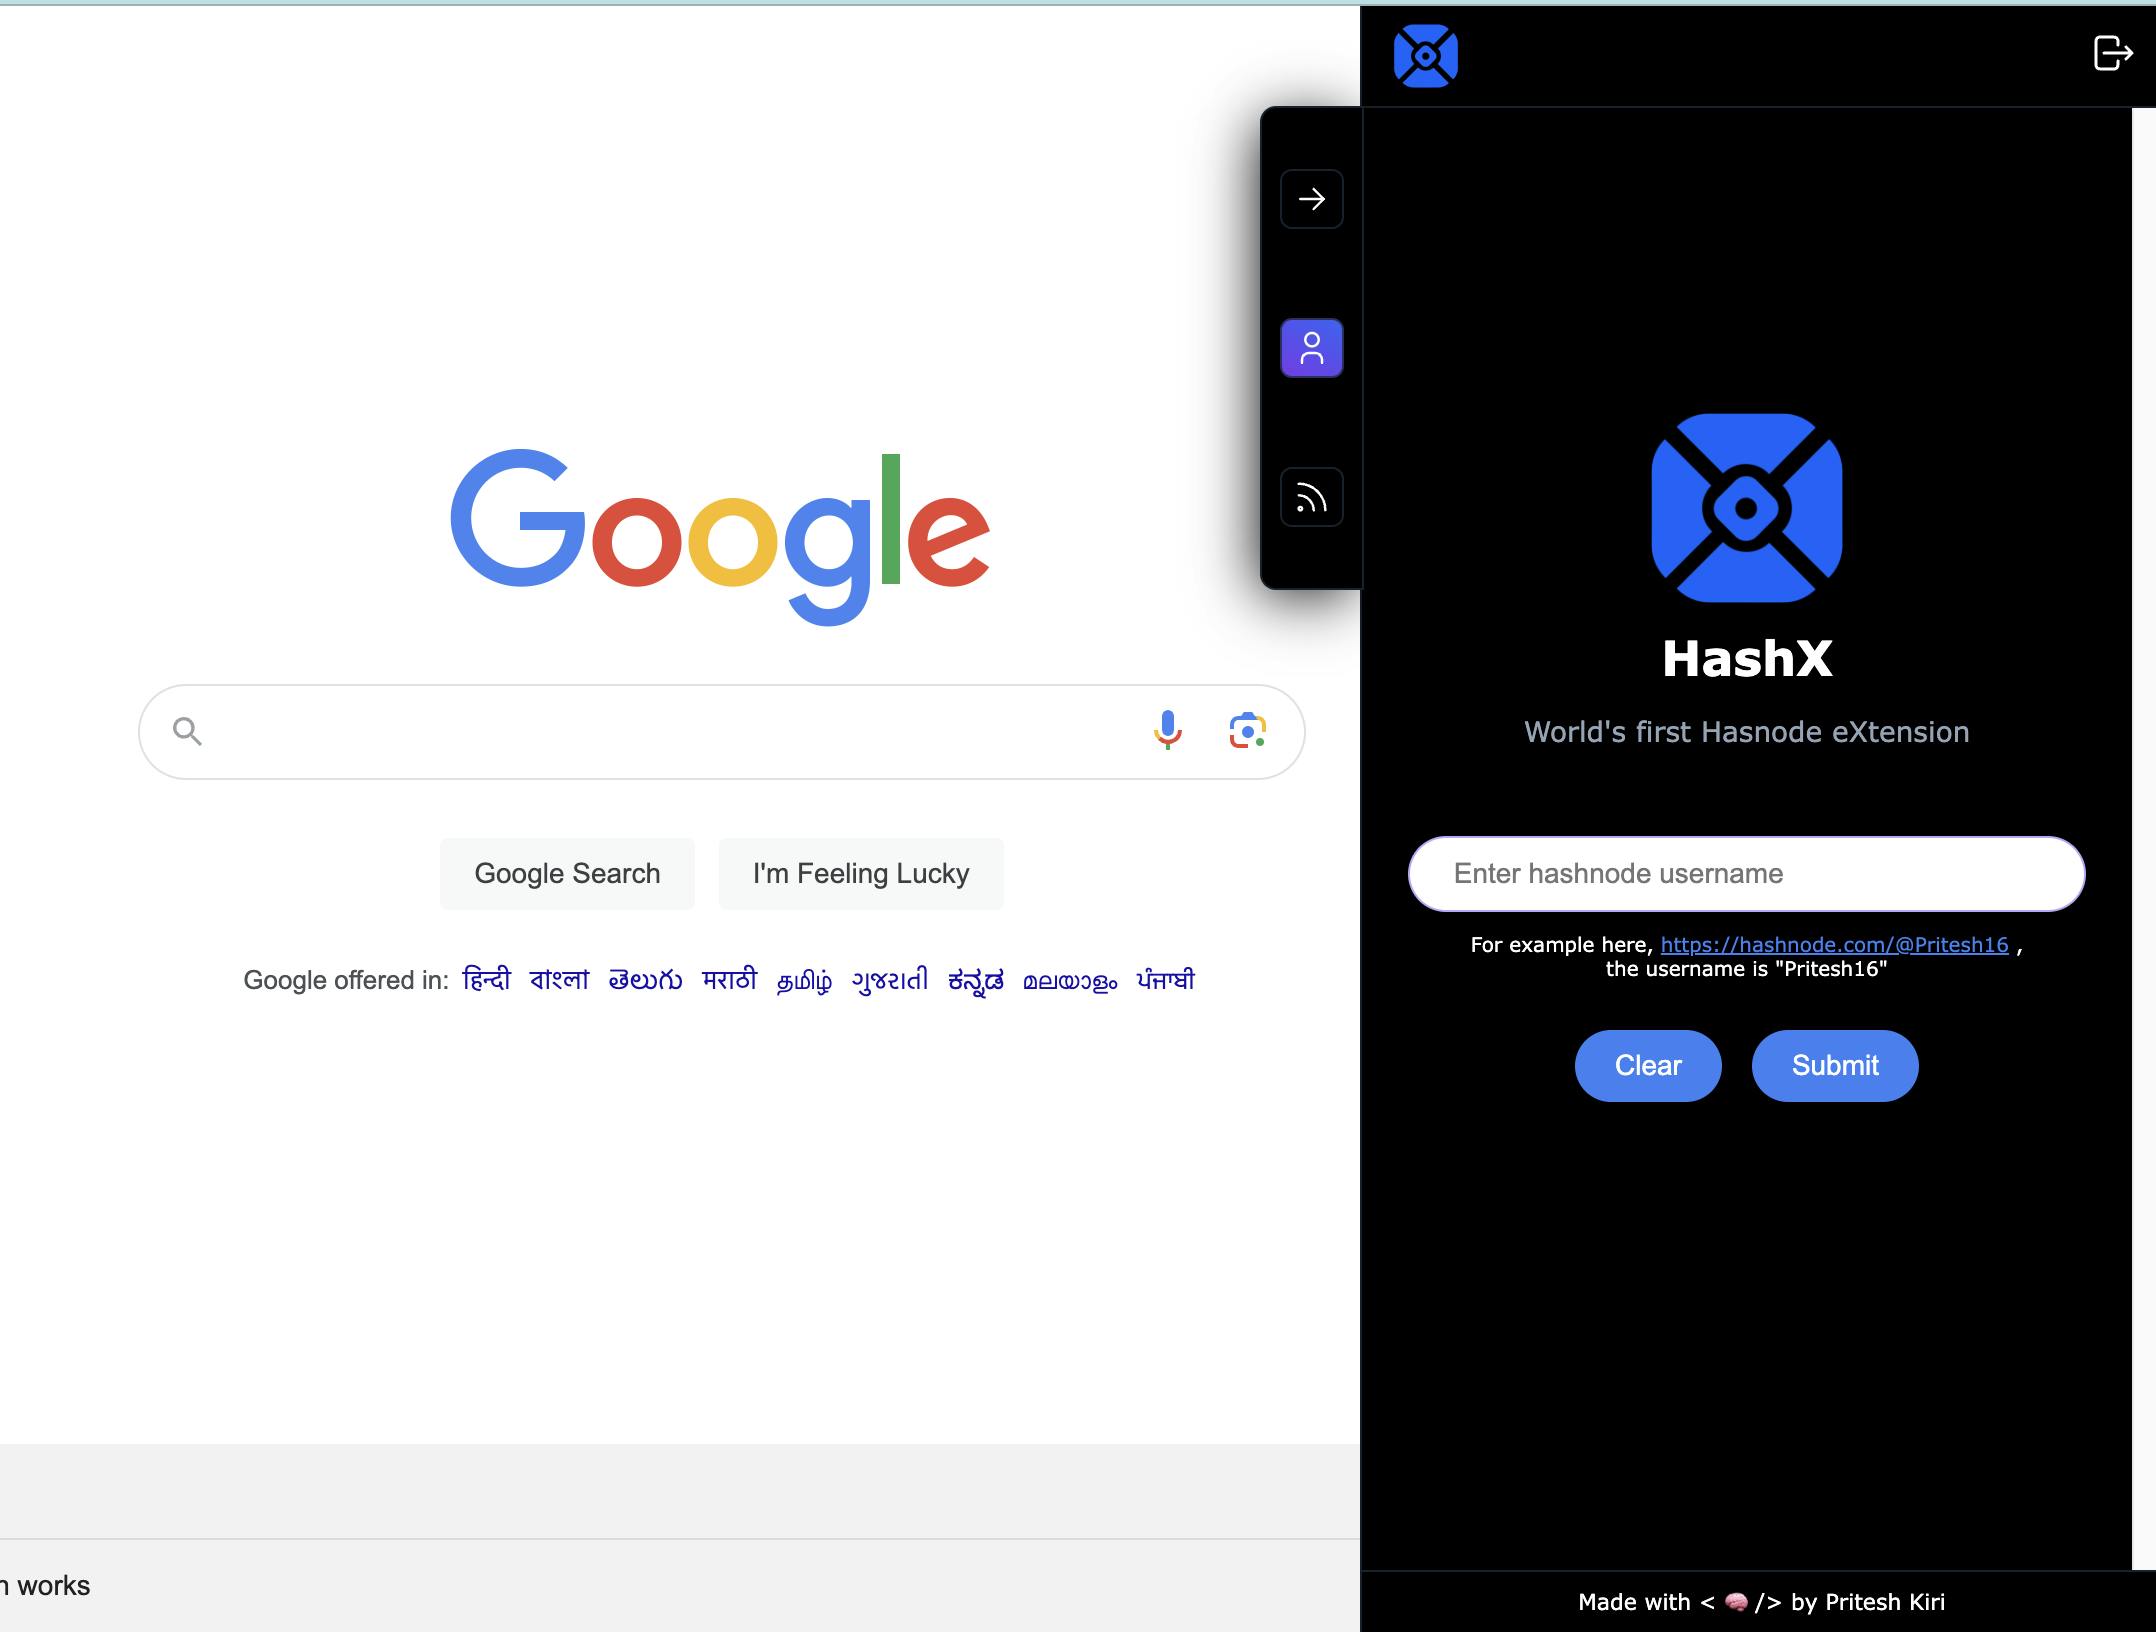
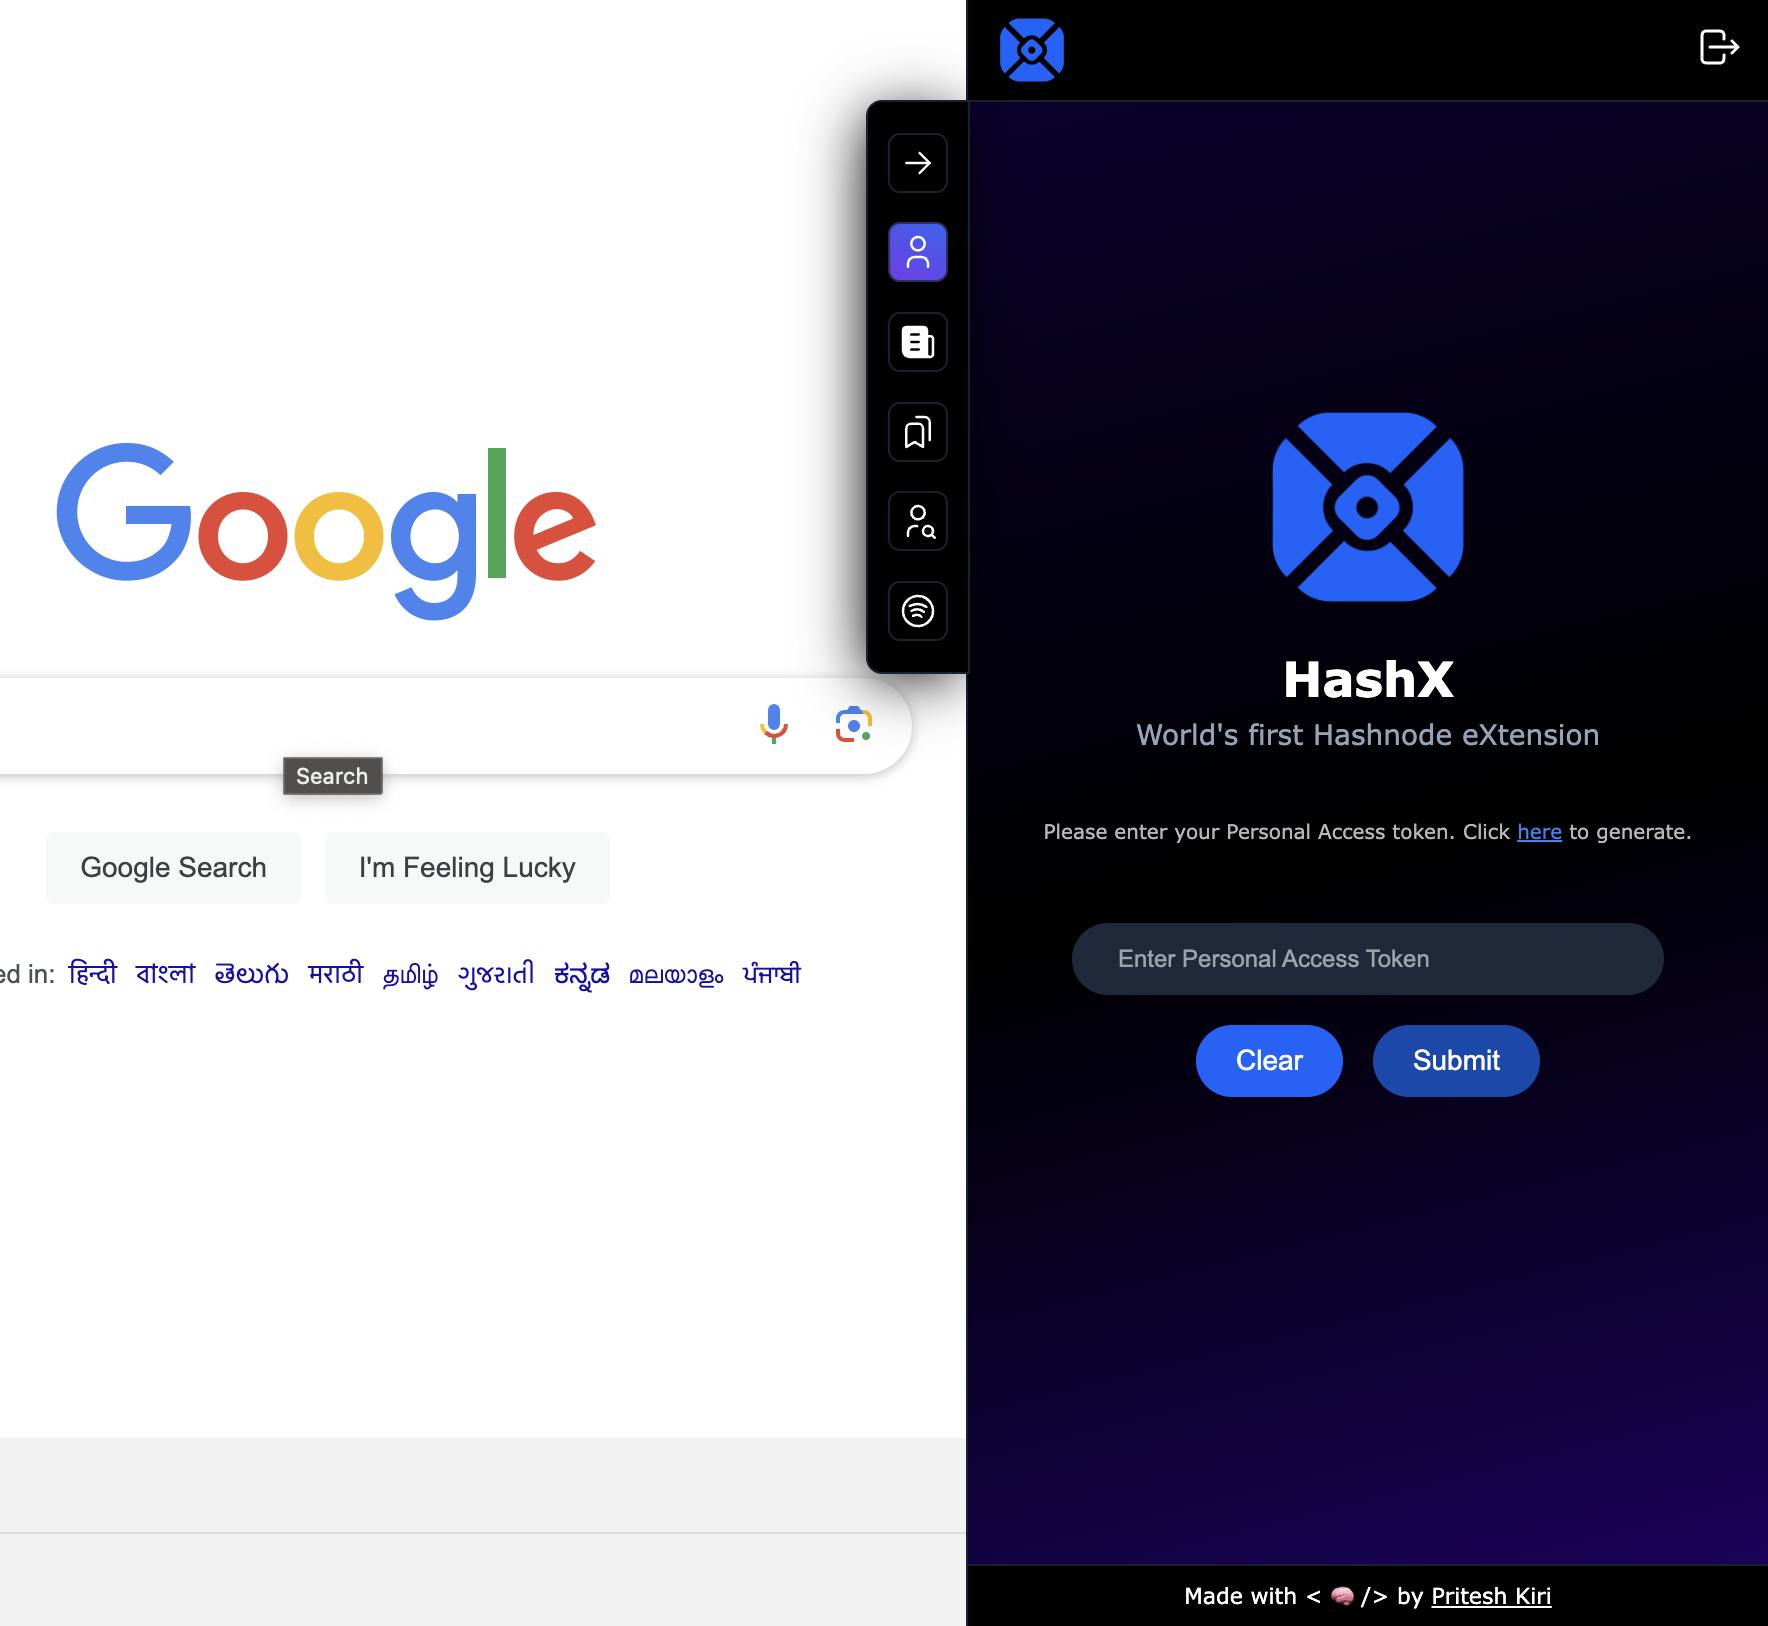
Seamless Authentication
To use this Chrome extension, users must enter their
personal access tokenfor login.Just to clarify, I am not using any external database to store this
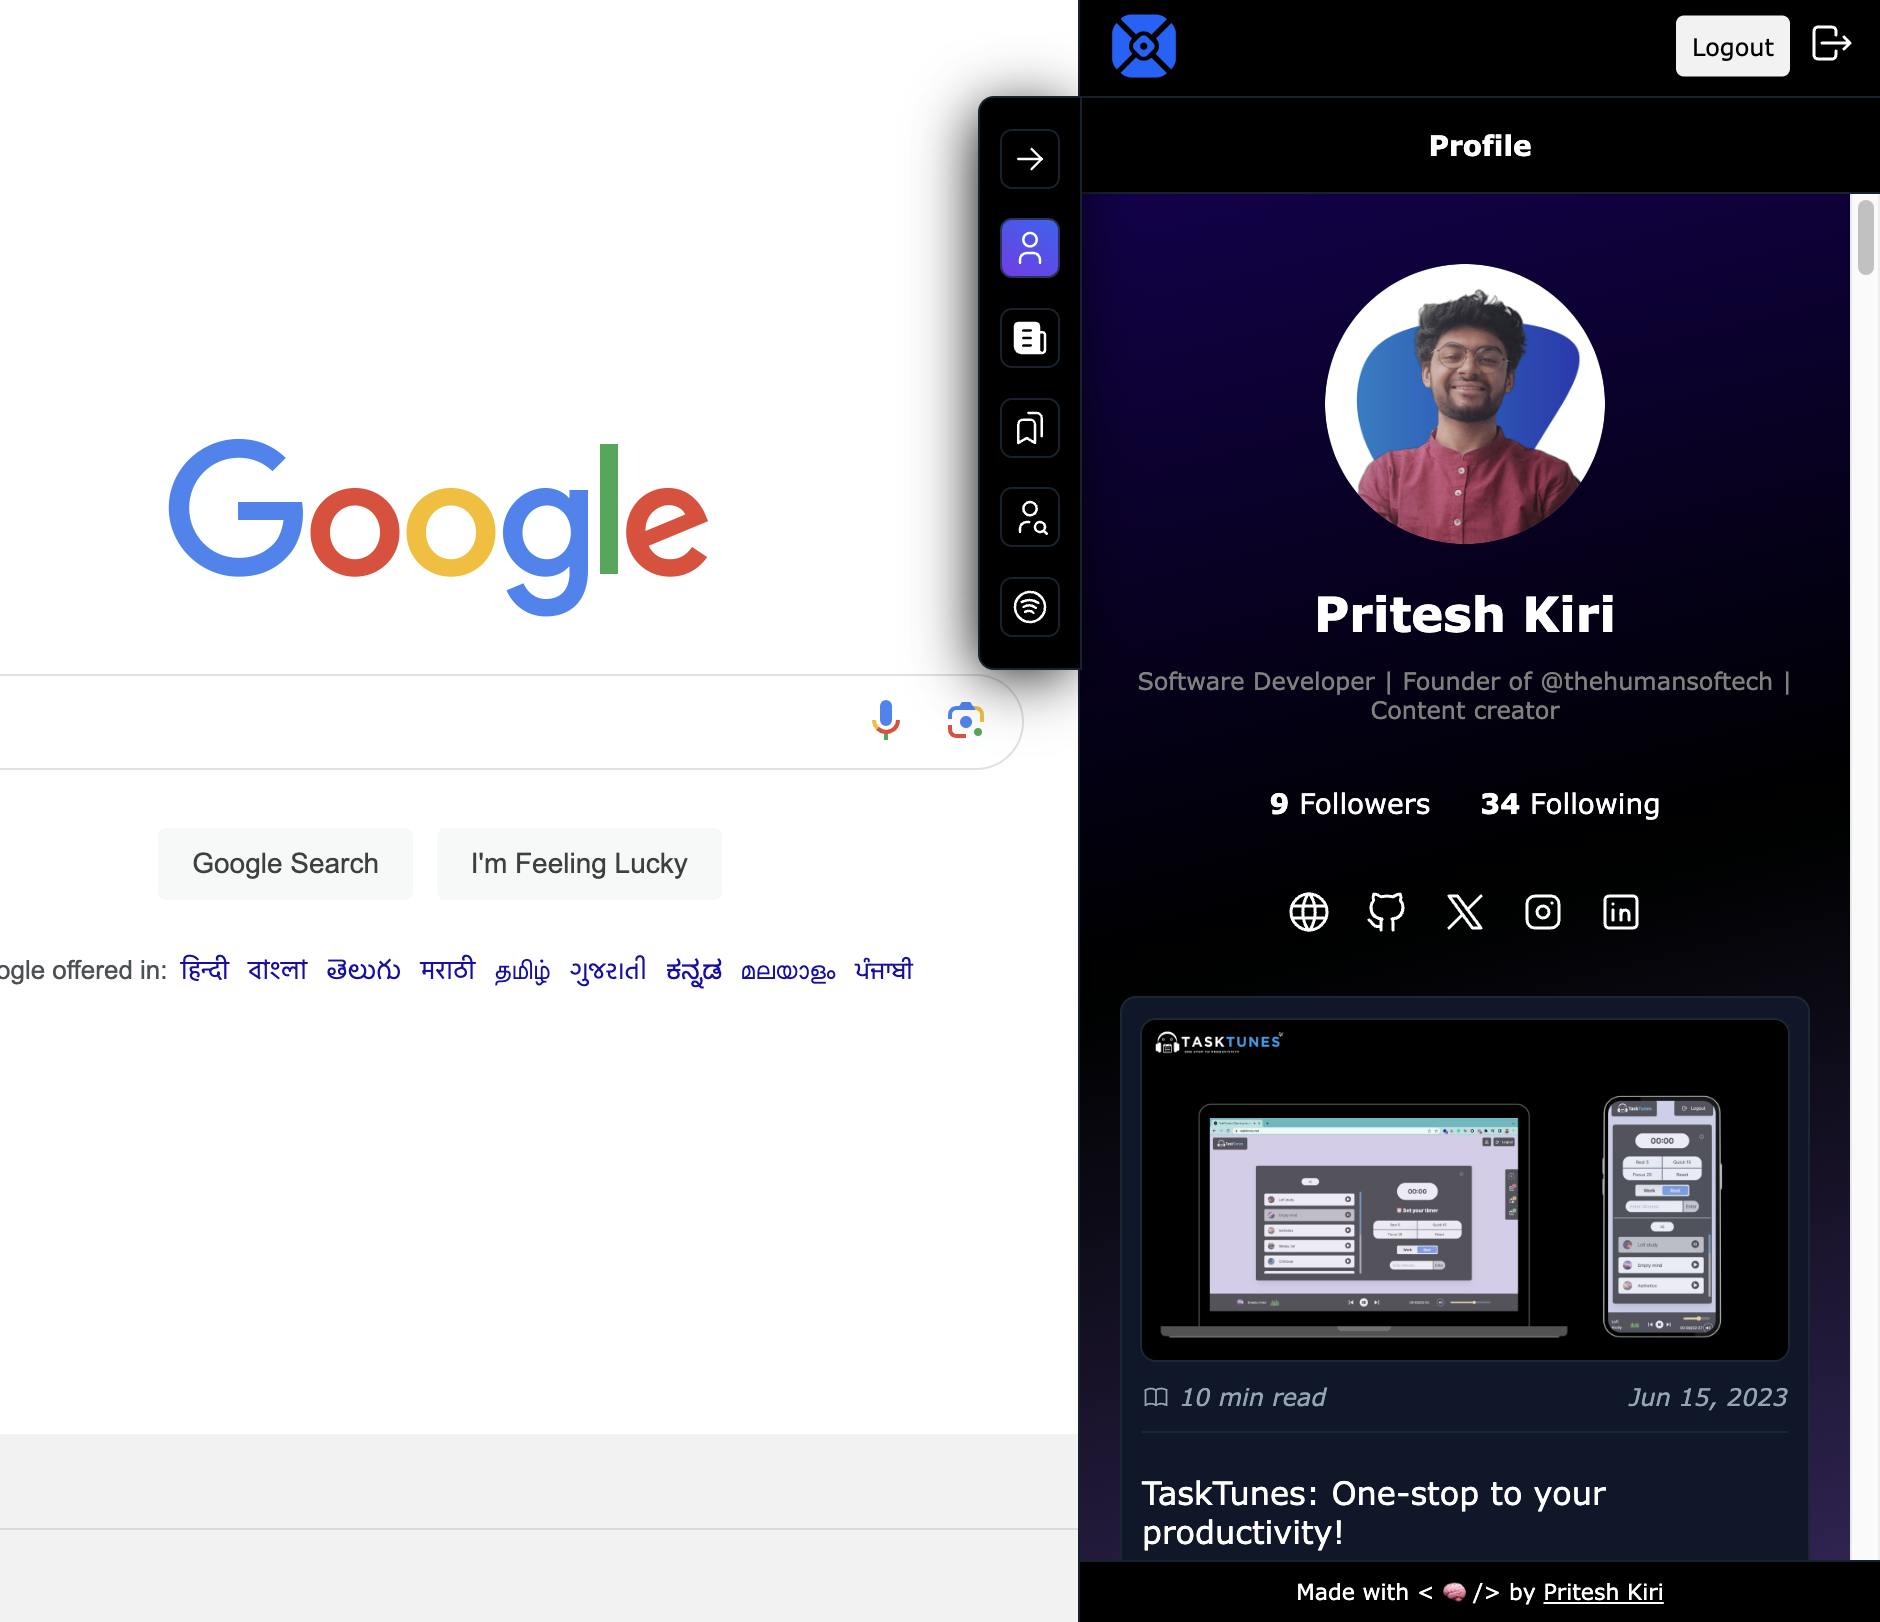
personal access tokenfor security reasons. I am using thelocal storageof the Chrome extension so that users don't have to enter the access token on different websites. Once this token is added, it will be there on any tab of the Chrome browser unless the user decides to log out from the button on the top right.Once logged in, you'll see your Hashnode Profile.
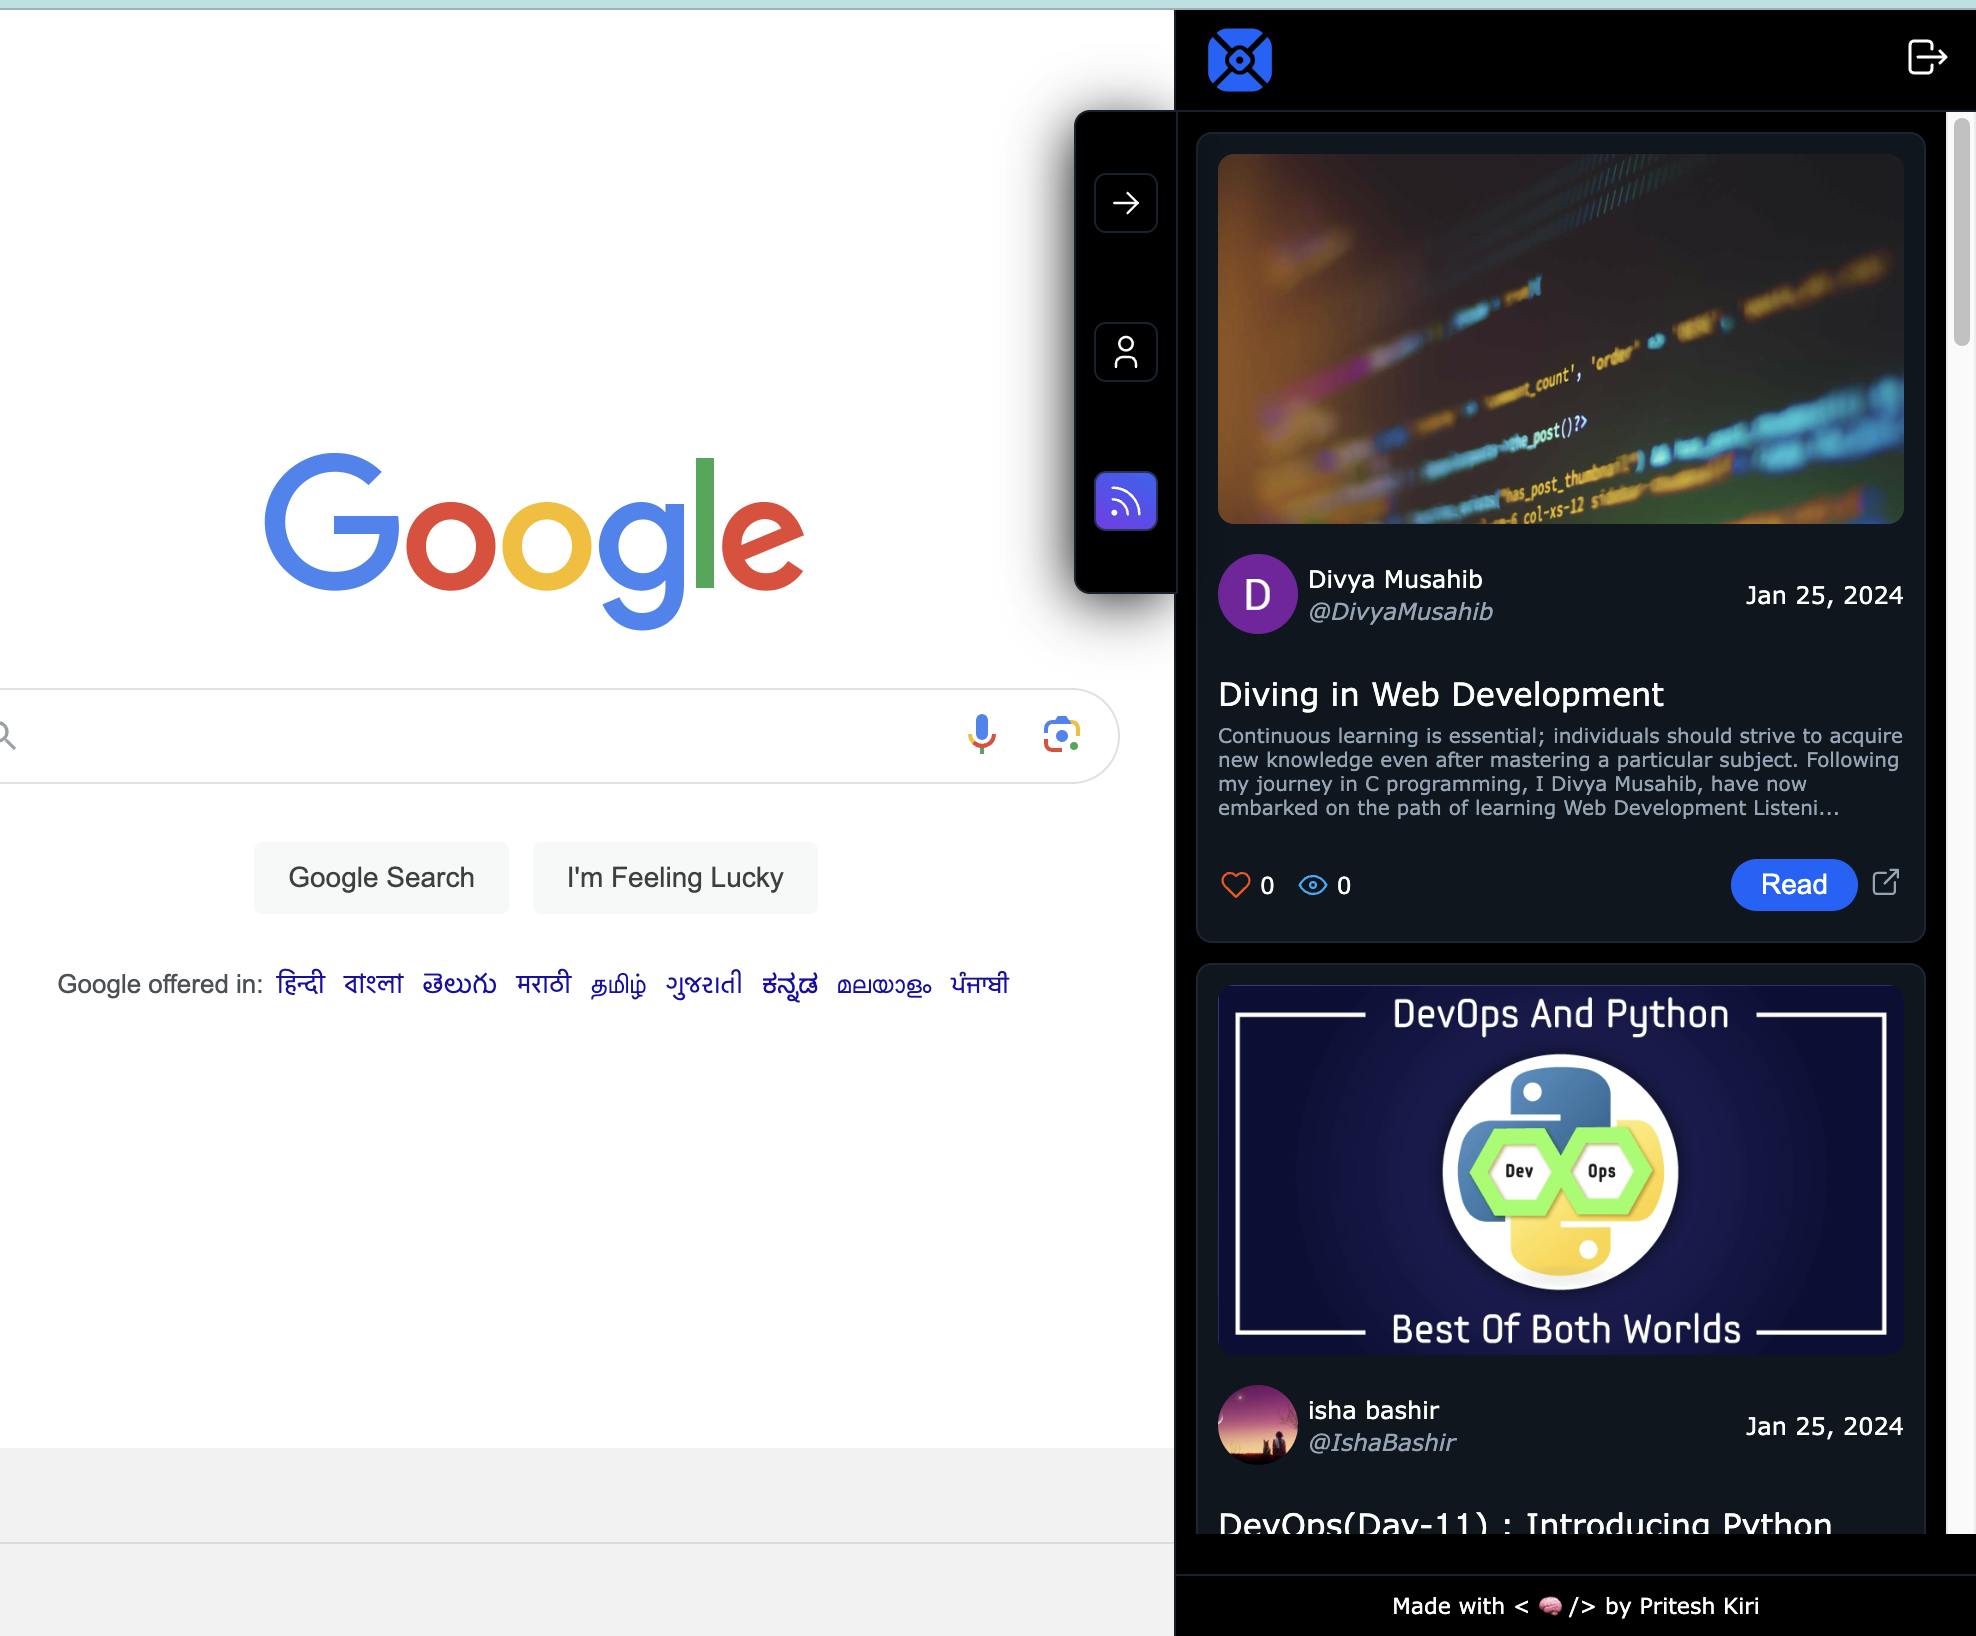
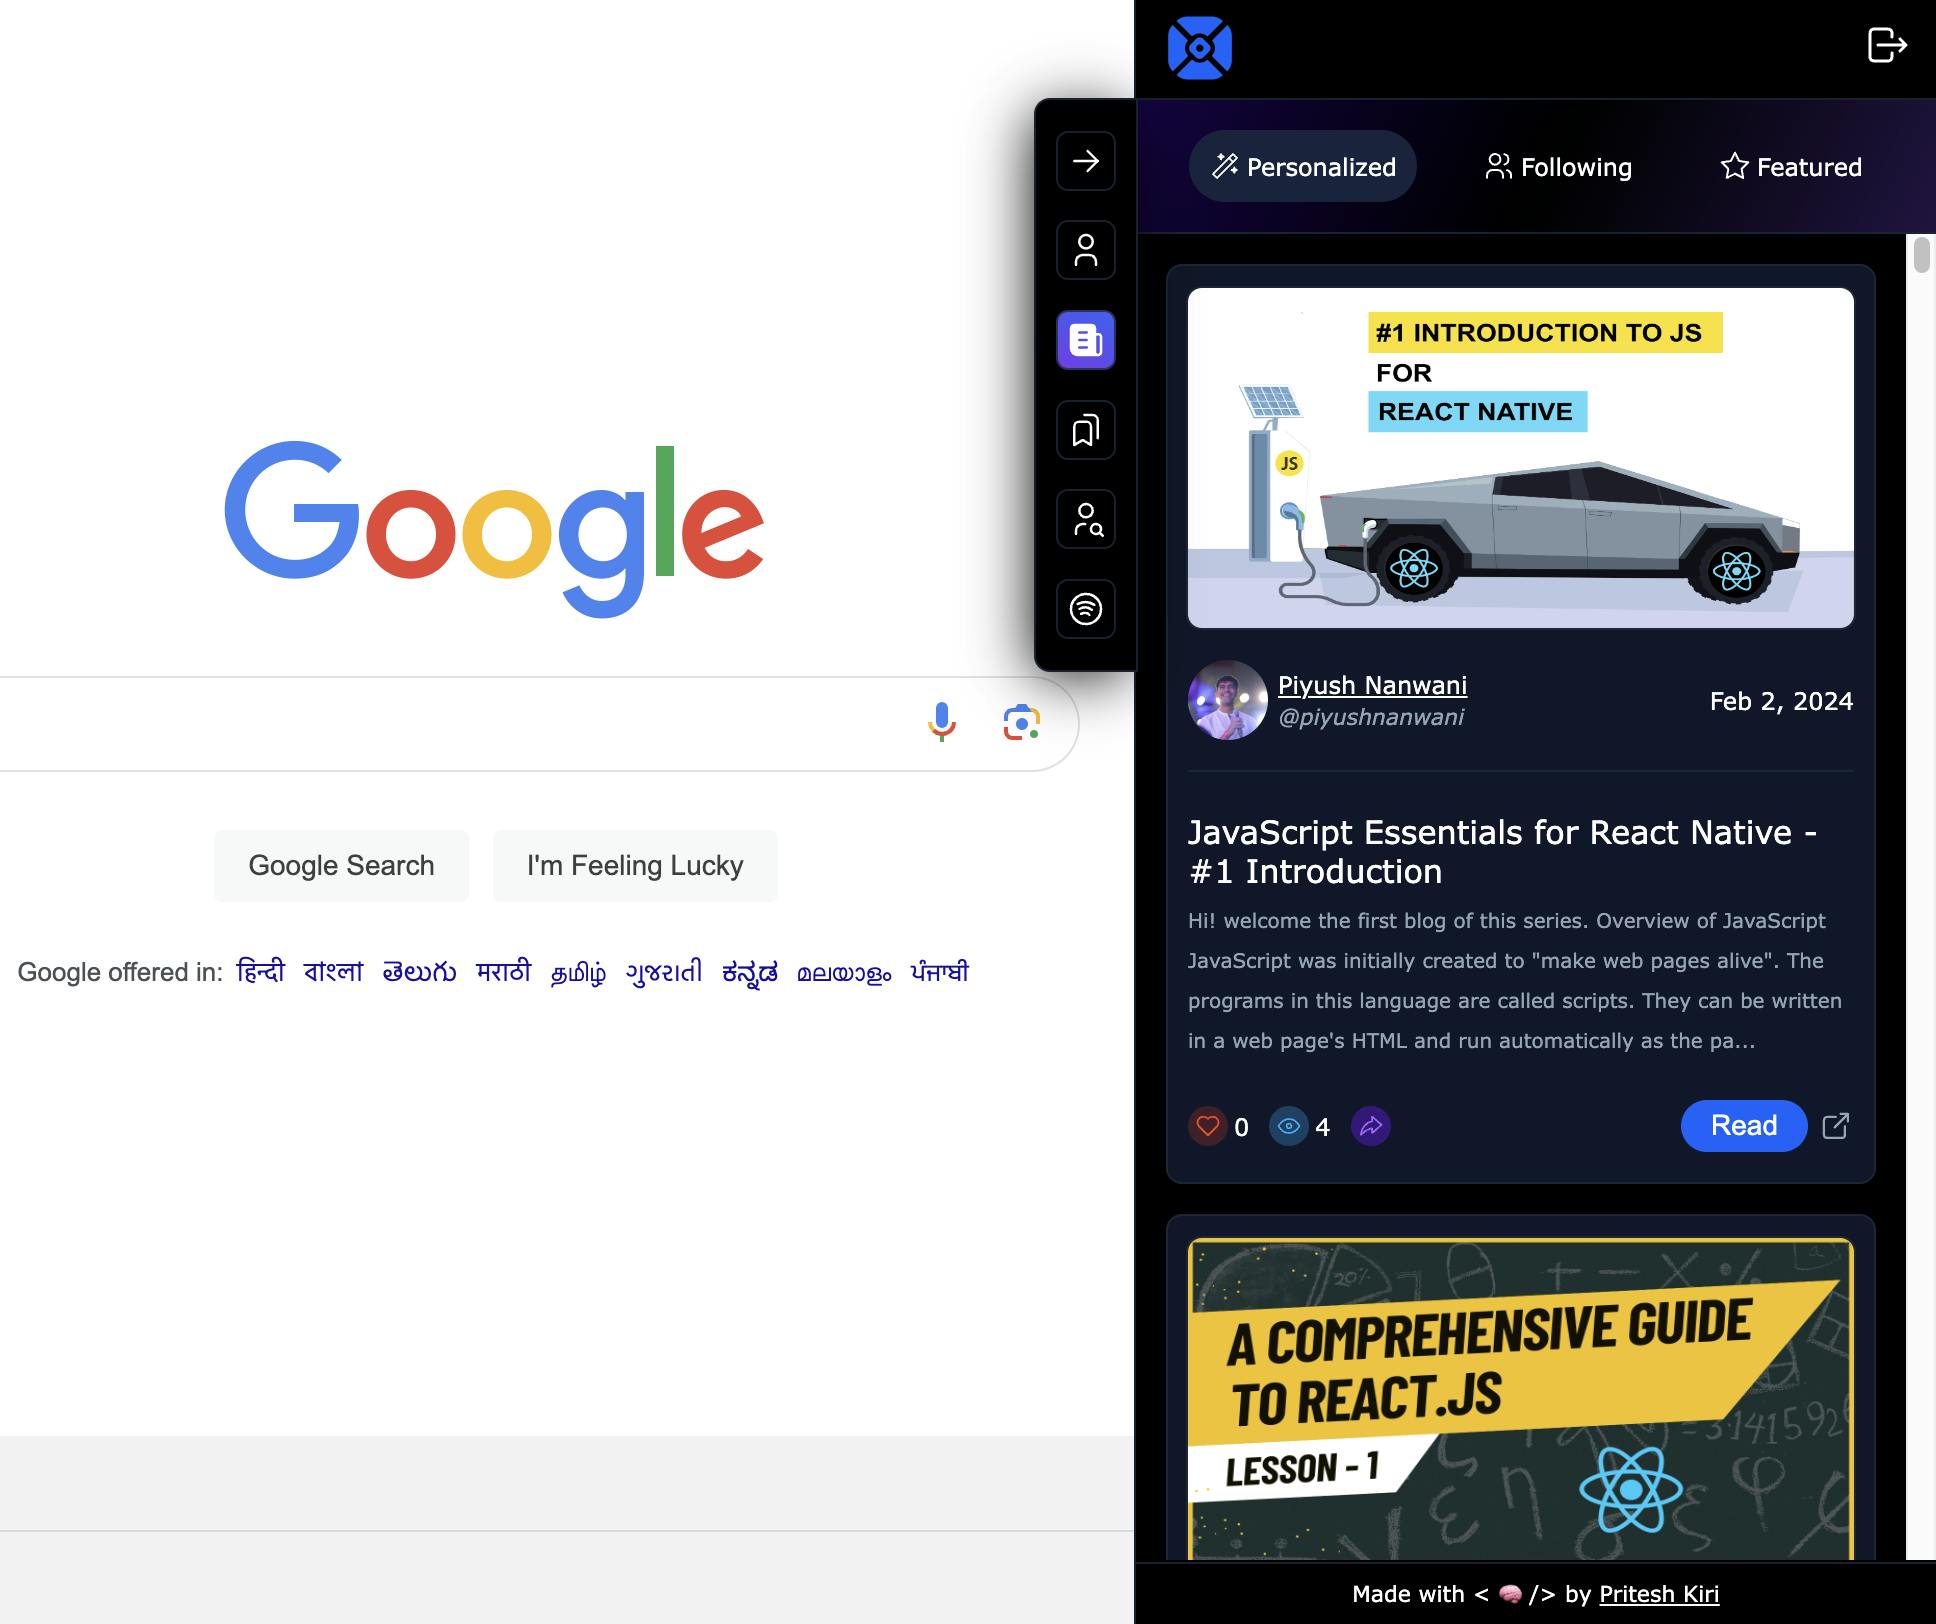
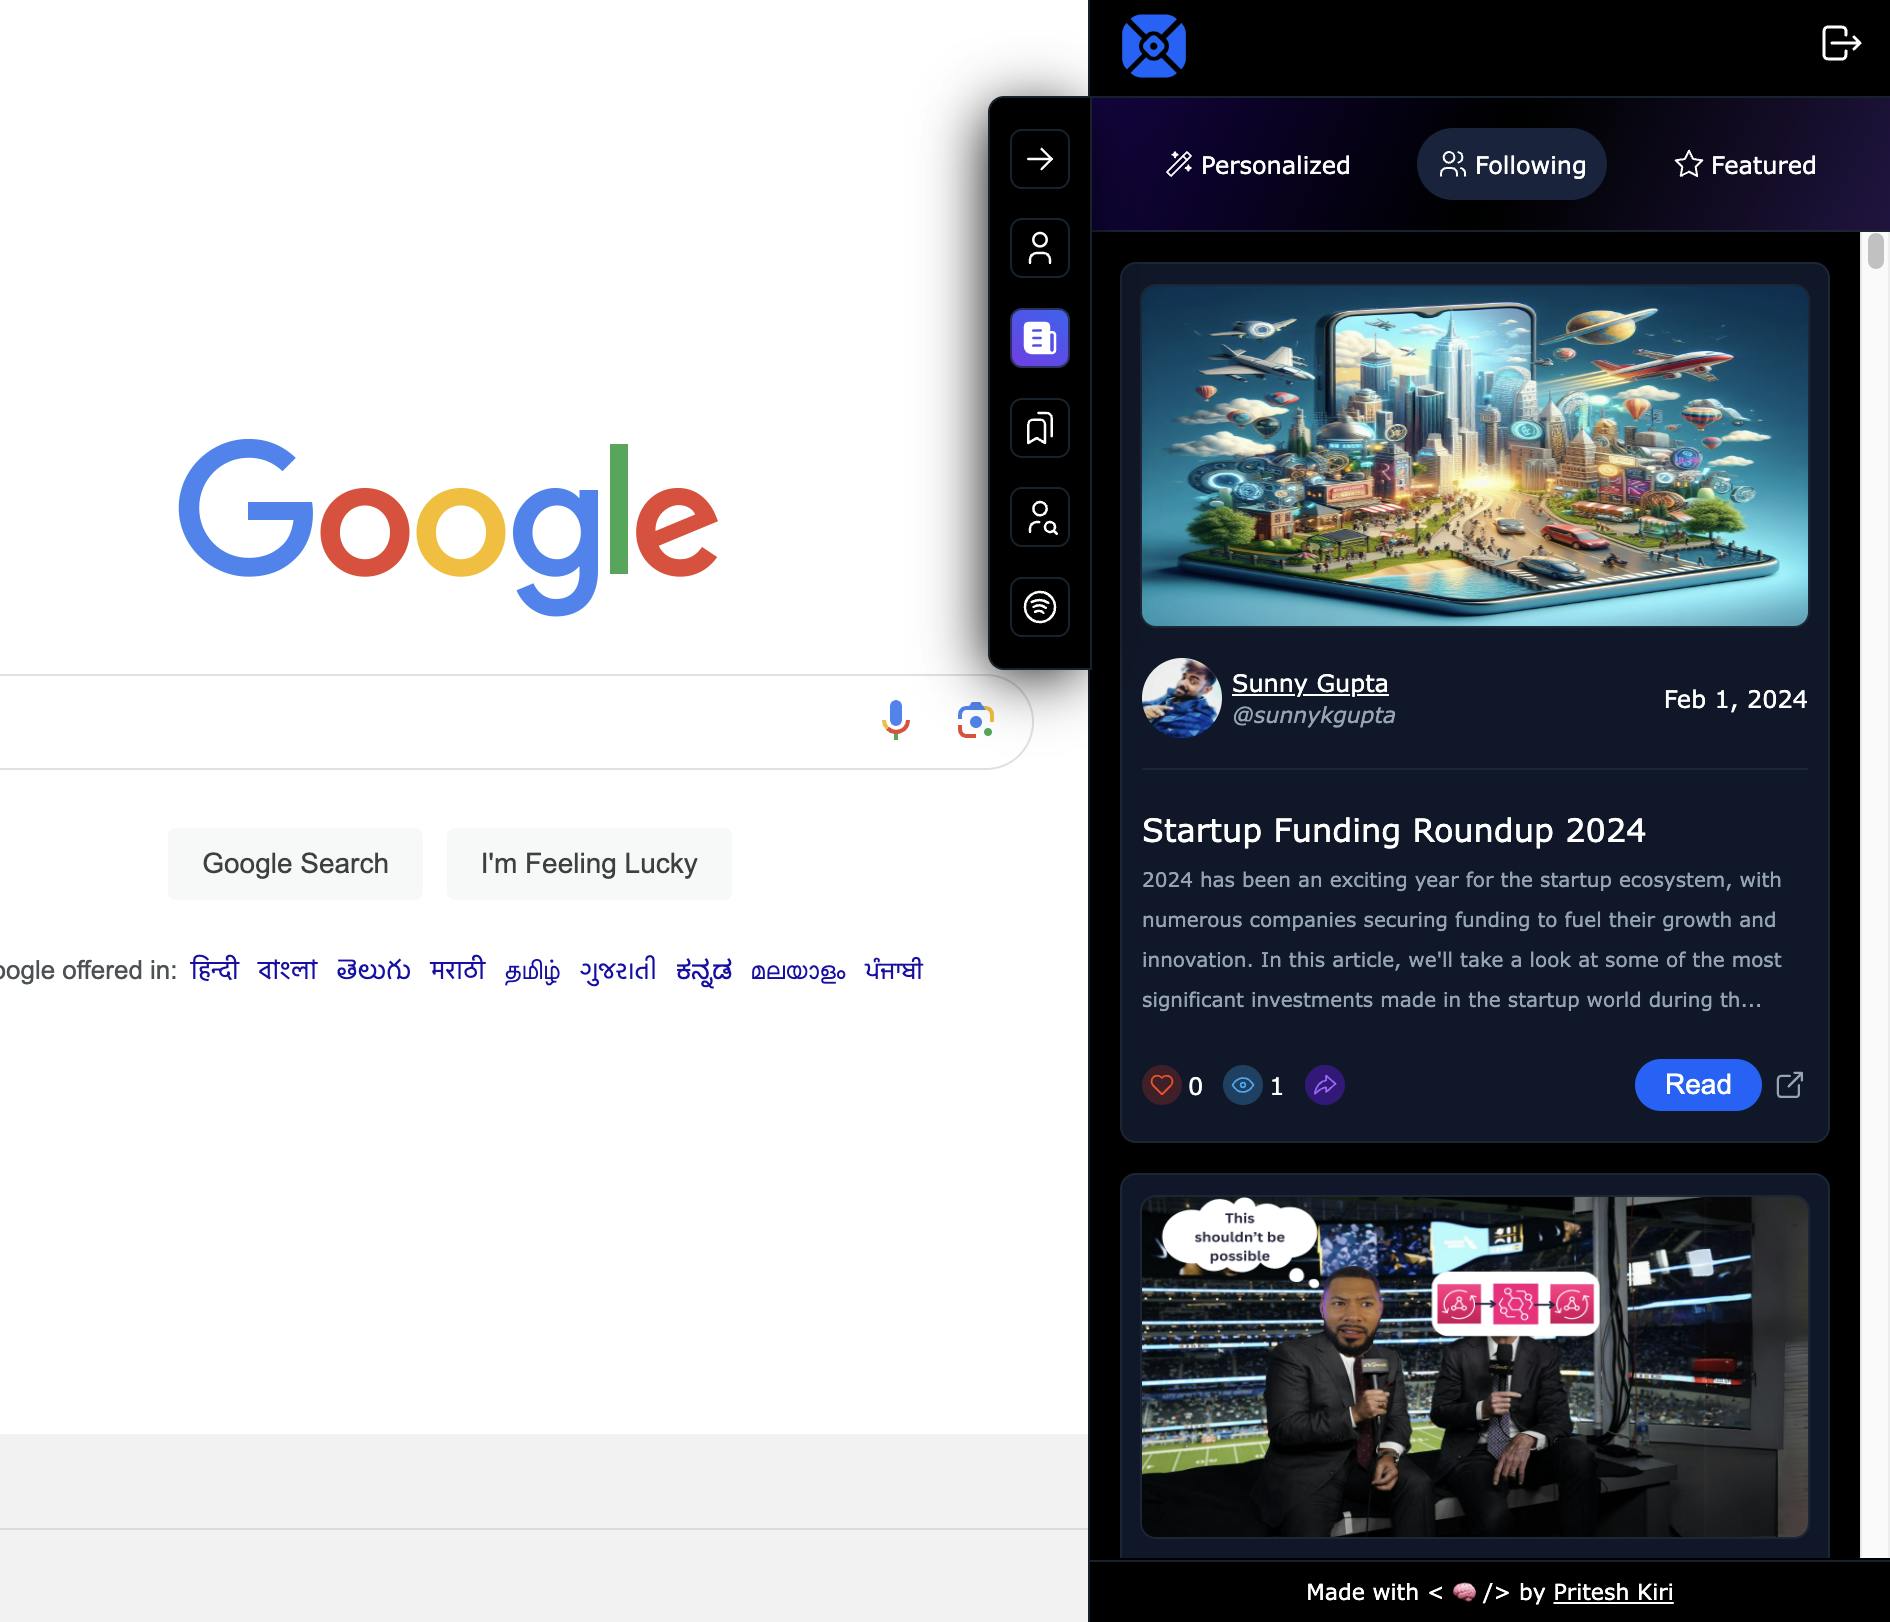
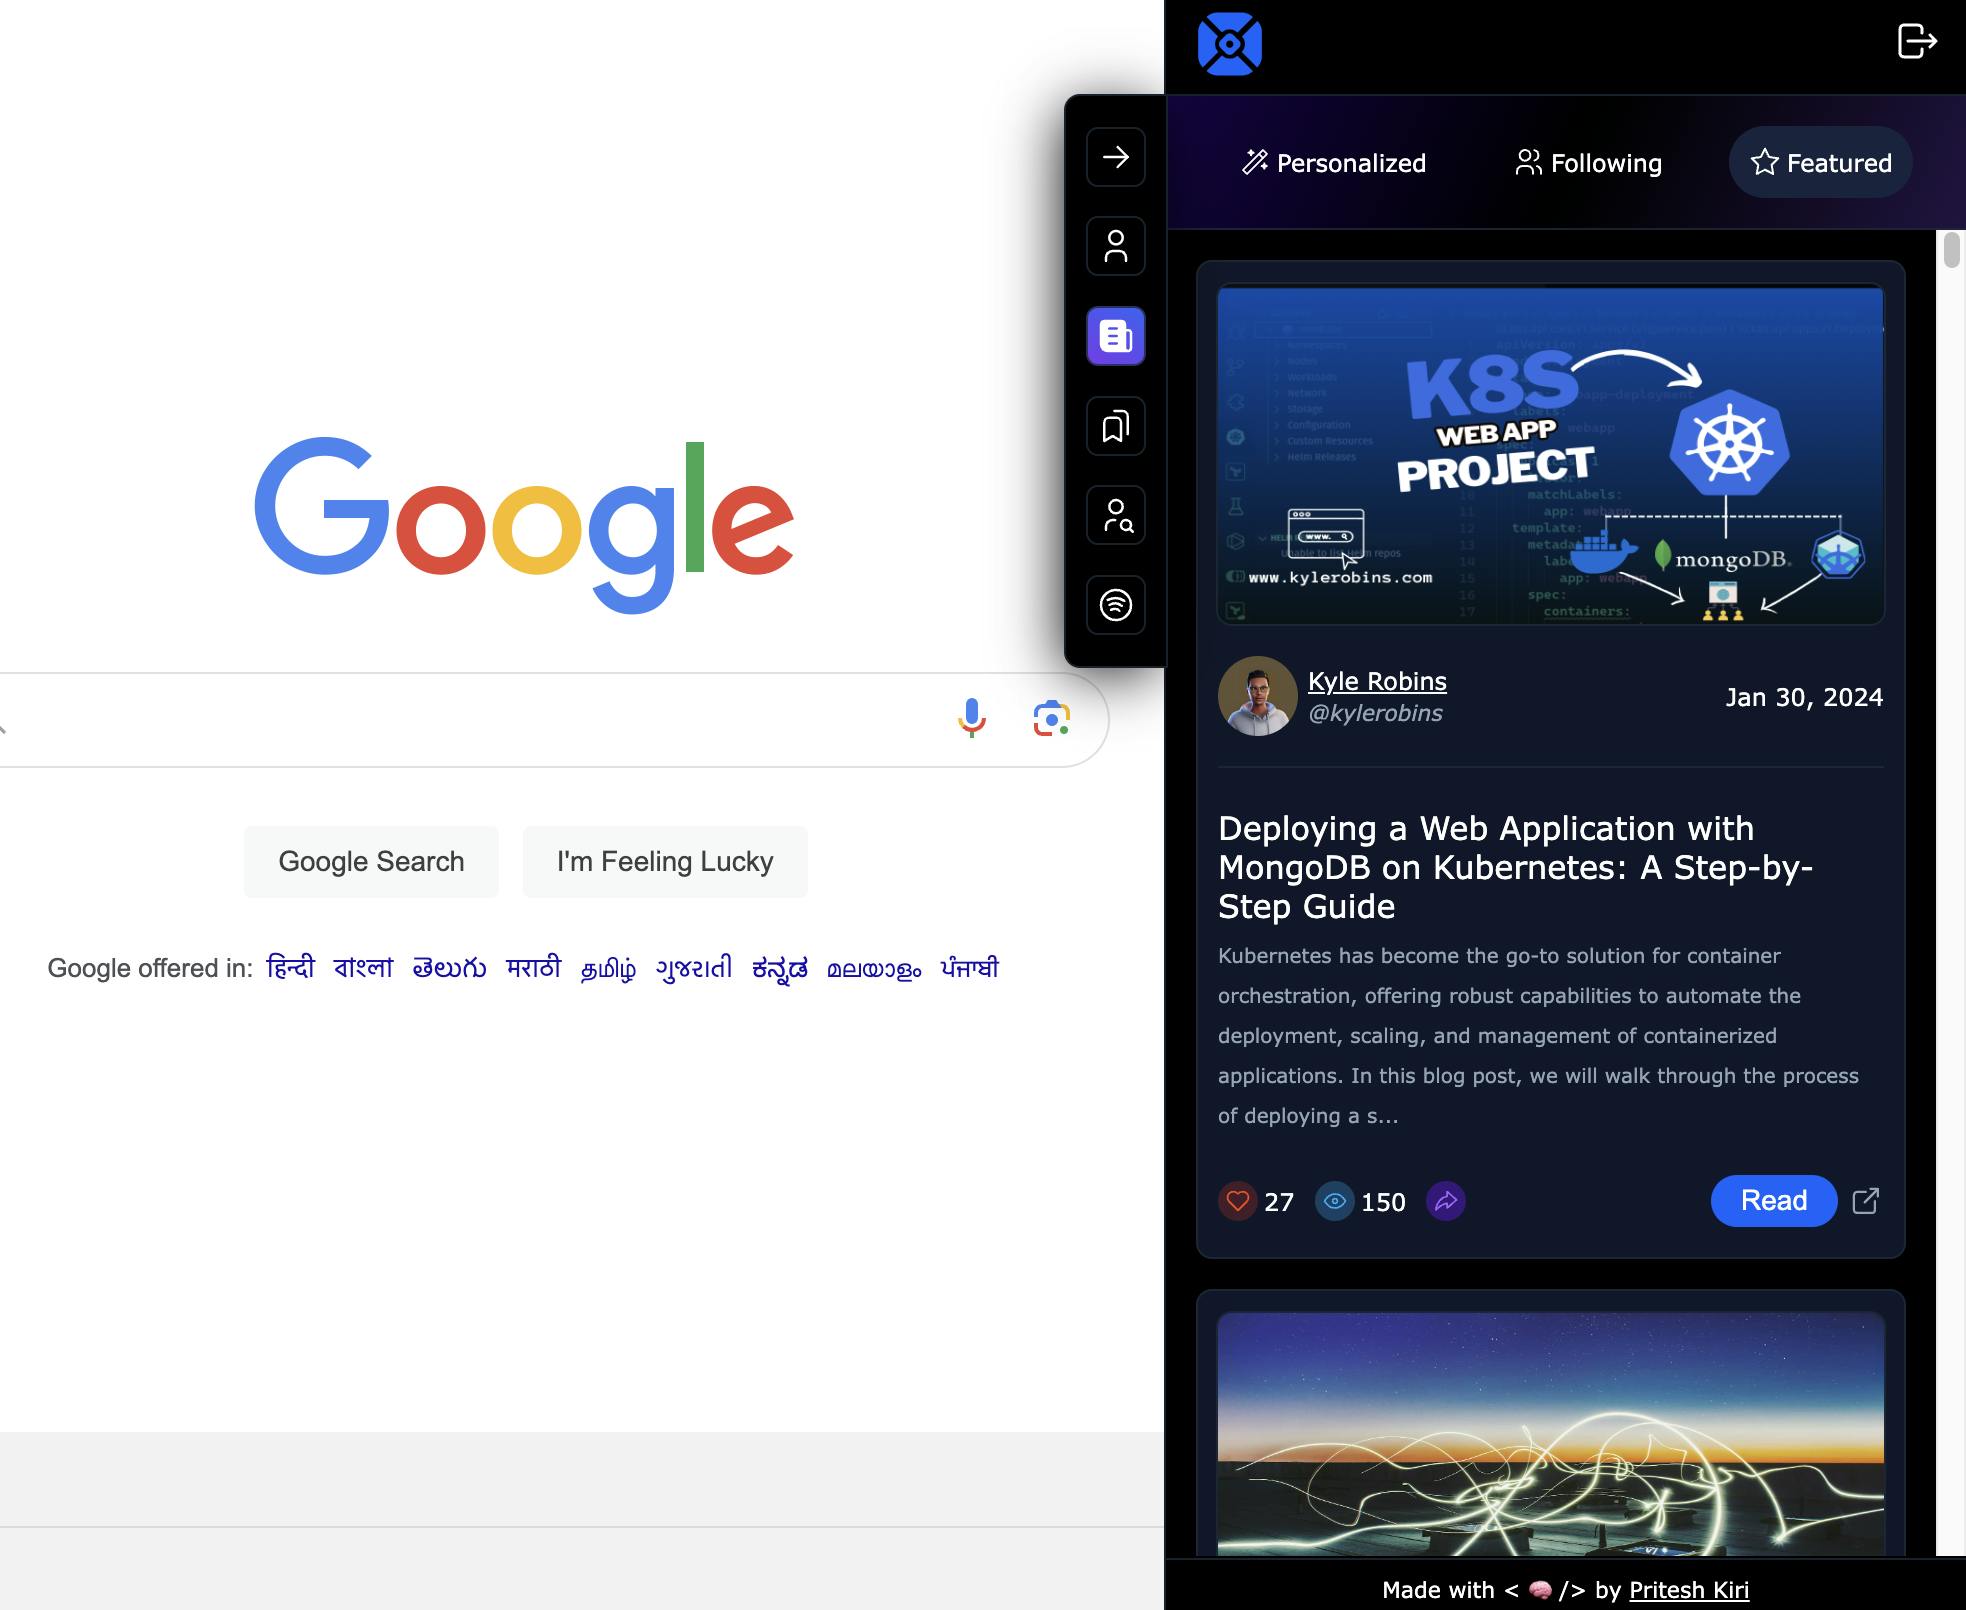
Discover Hashnode Feeds
You can explore three types of feeds in HashX: personalized feeds, following feeds, and featured feeds. This is similar to what is available on the Hashnode platform.
You can also read all the blogs in the feeds by clicking on the read button.
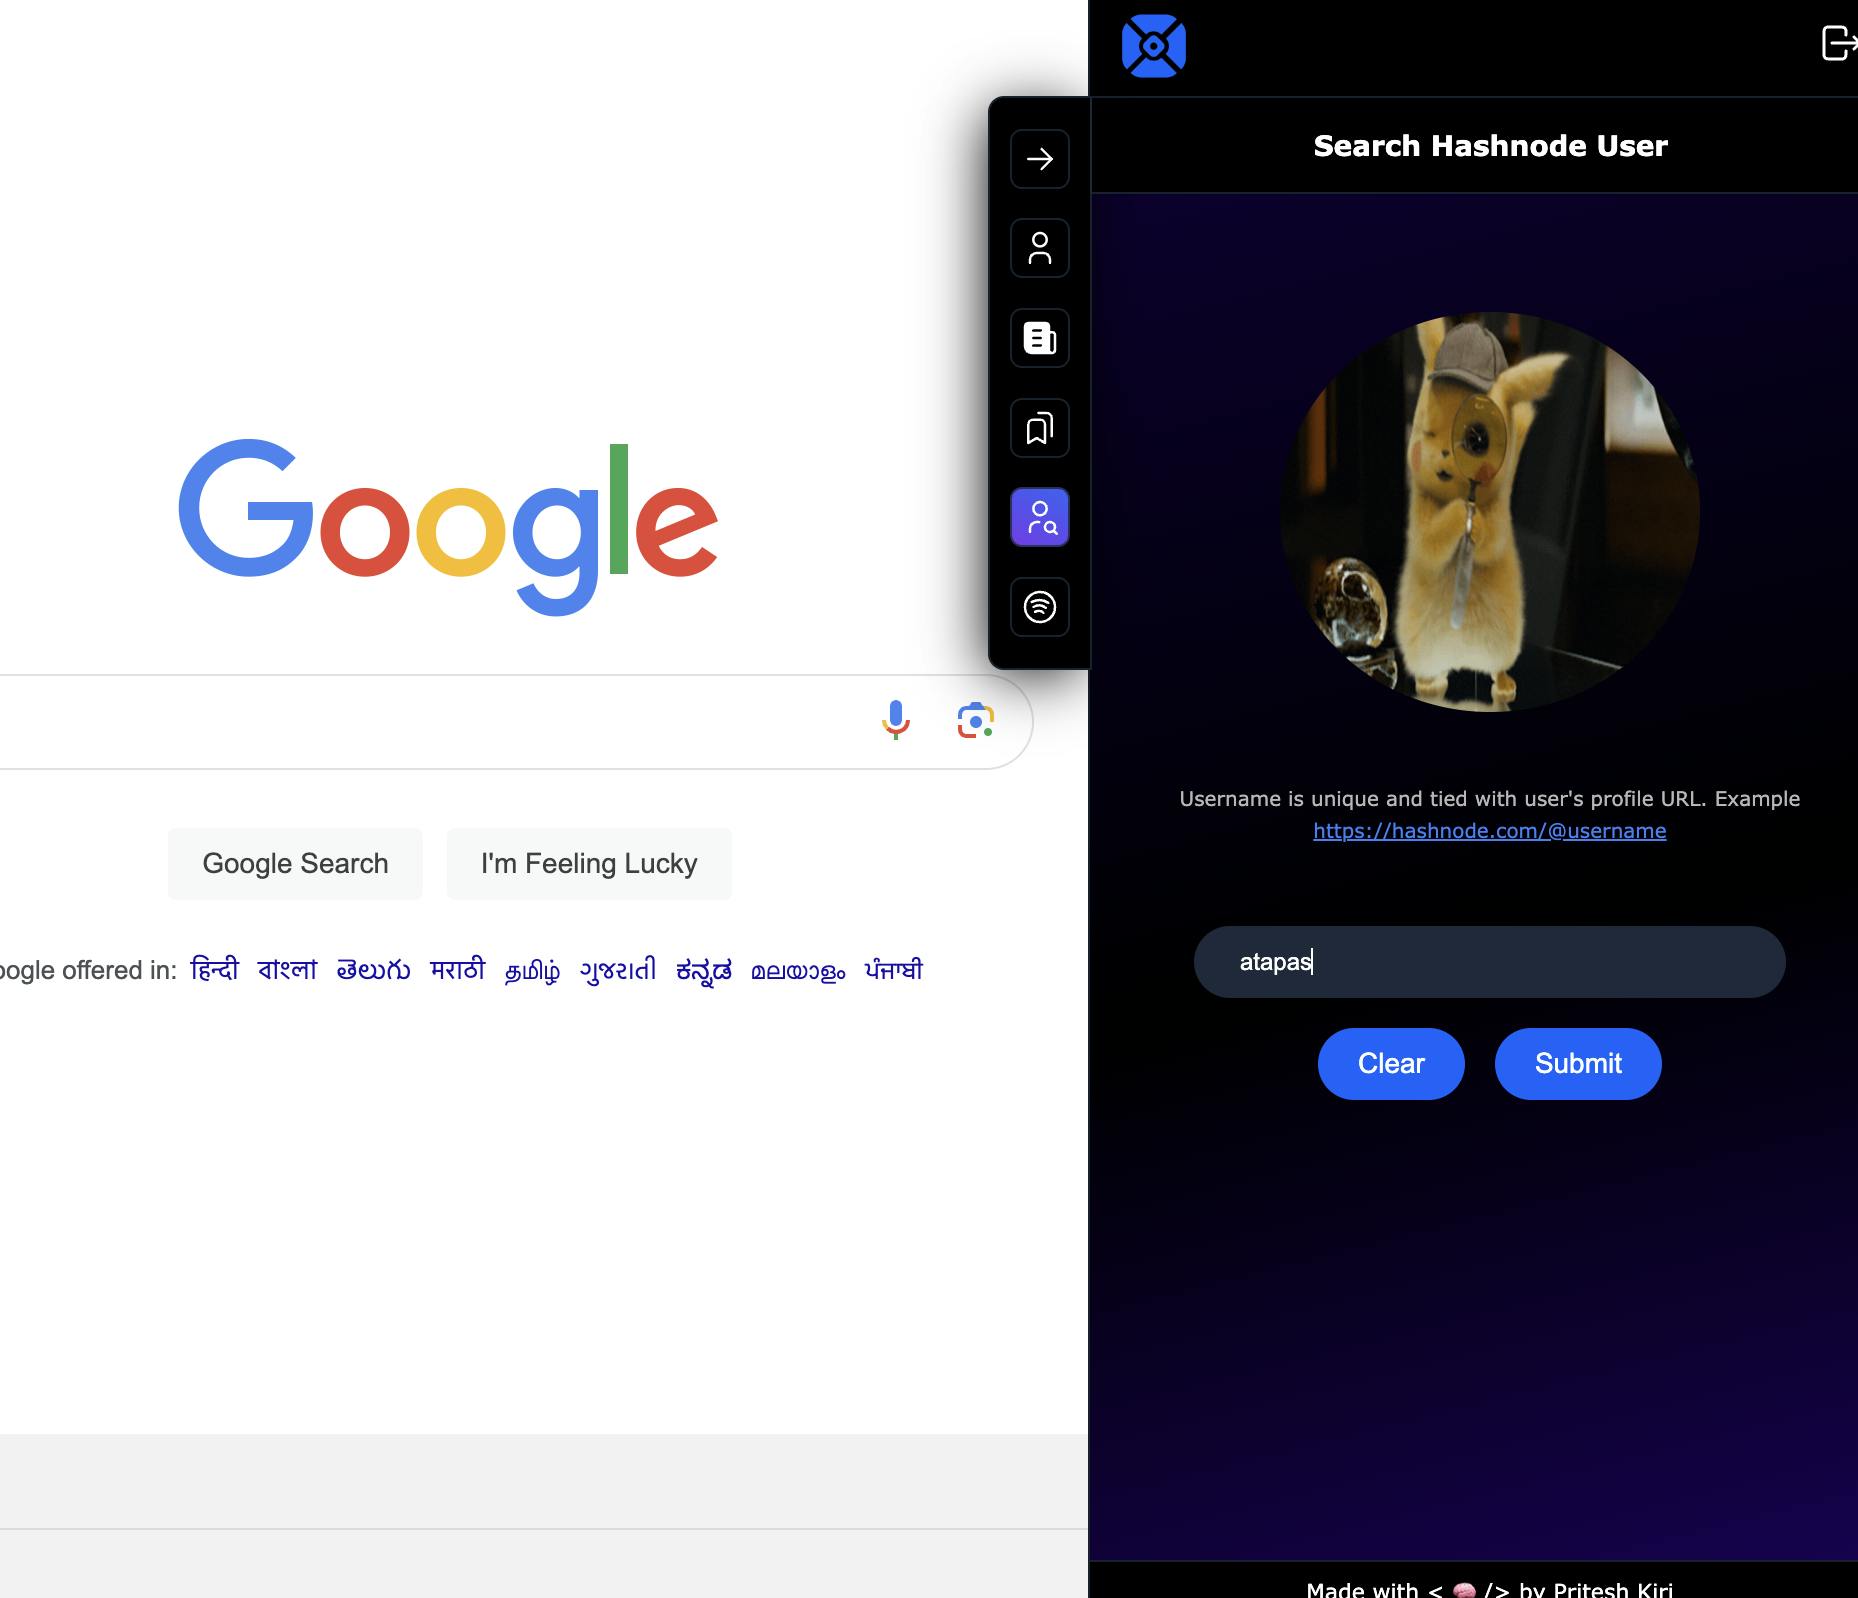
Explore Hashnode User Profile
There are two ways to explore Hashnode users in HashX.
The first is by going to the feed section and clicking on an author's name, which will take you to their profile.
The second is by using the search user section. Here, you need to enter the Hashnode username, and it will display the profile of that user.
Access Bookmarks
- To access the bookmarks, just navigate to bookmarks and then you can read your bookmarked blogs.

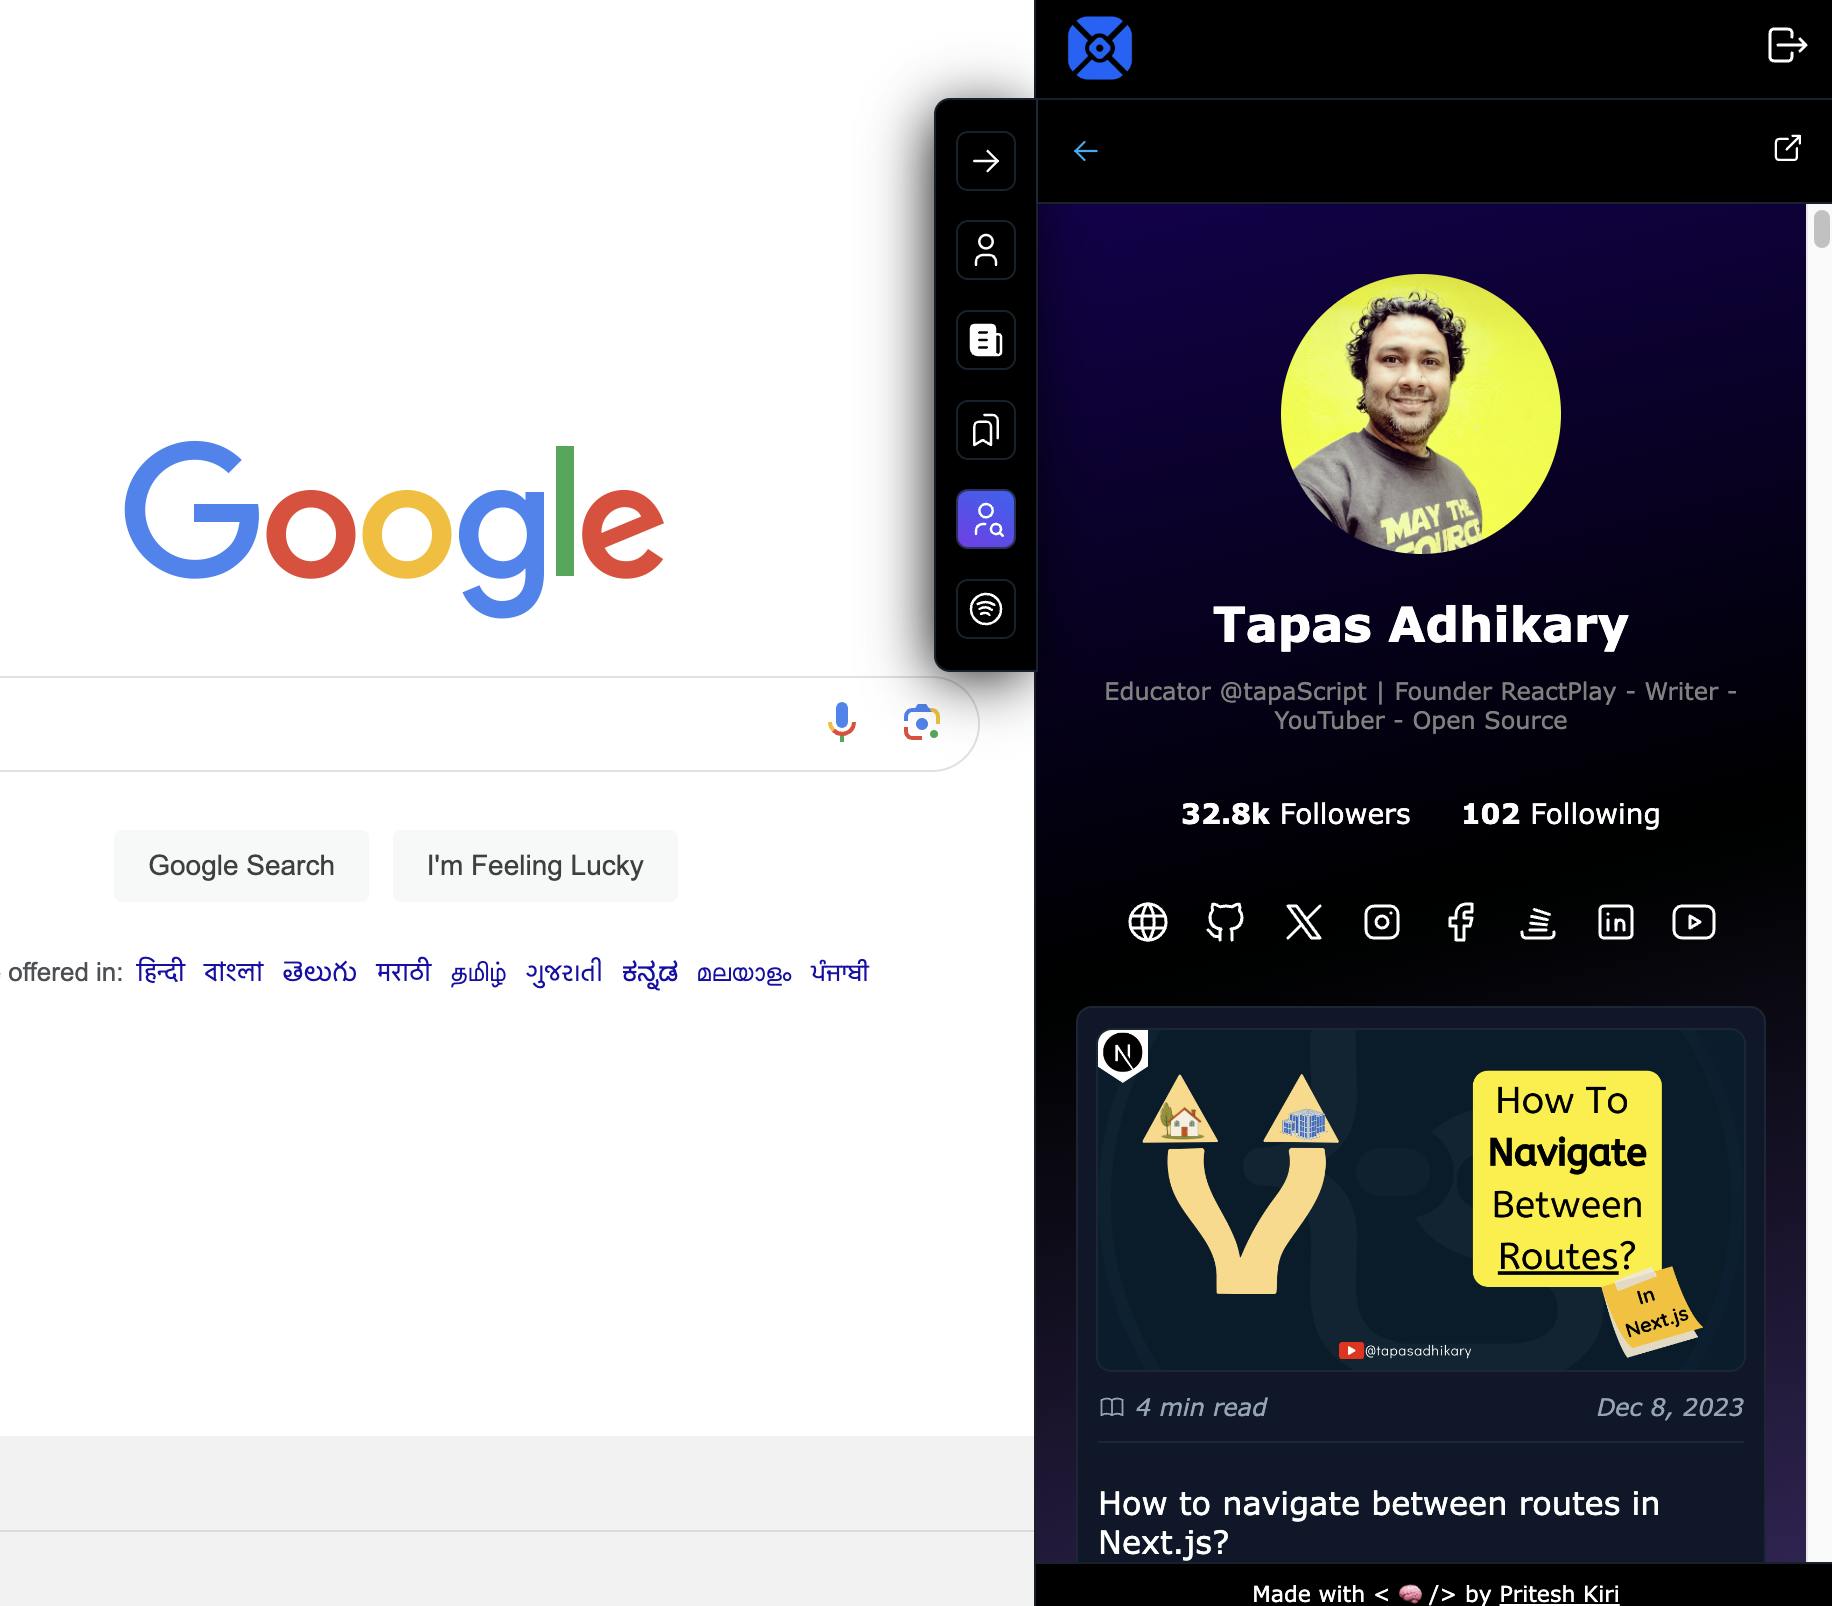
Read blogs on any webpage
- You can read blogs in three ways using this particular extension. First, you can read blogs from the feed section. Second, you can read them from the bookmark section. Third, you can read blogs from an author's profile.

These we some of the awesome features of HashX. Let me show you now how to install this cool thing in your browsers.
How to install HashX?
Please click on this link to go to the Chrome store to install this extension. Follow these installation steps to install the extension locally:
Step - 1
Fork and clone the repository
Copy the following command to fork the repository
git clone https://github.com/PriteshKiri/HashX-Chrome-Extension.git
Step - 2
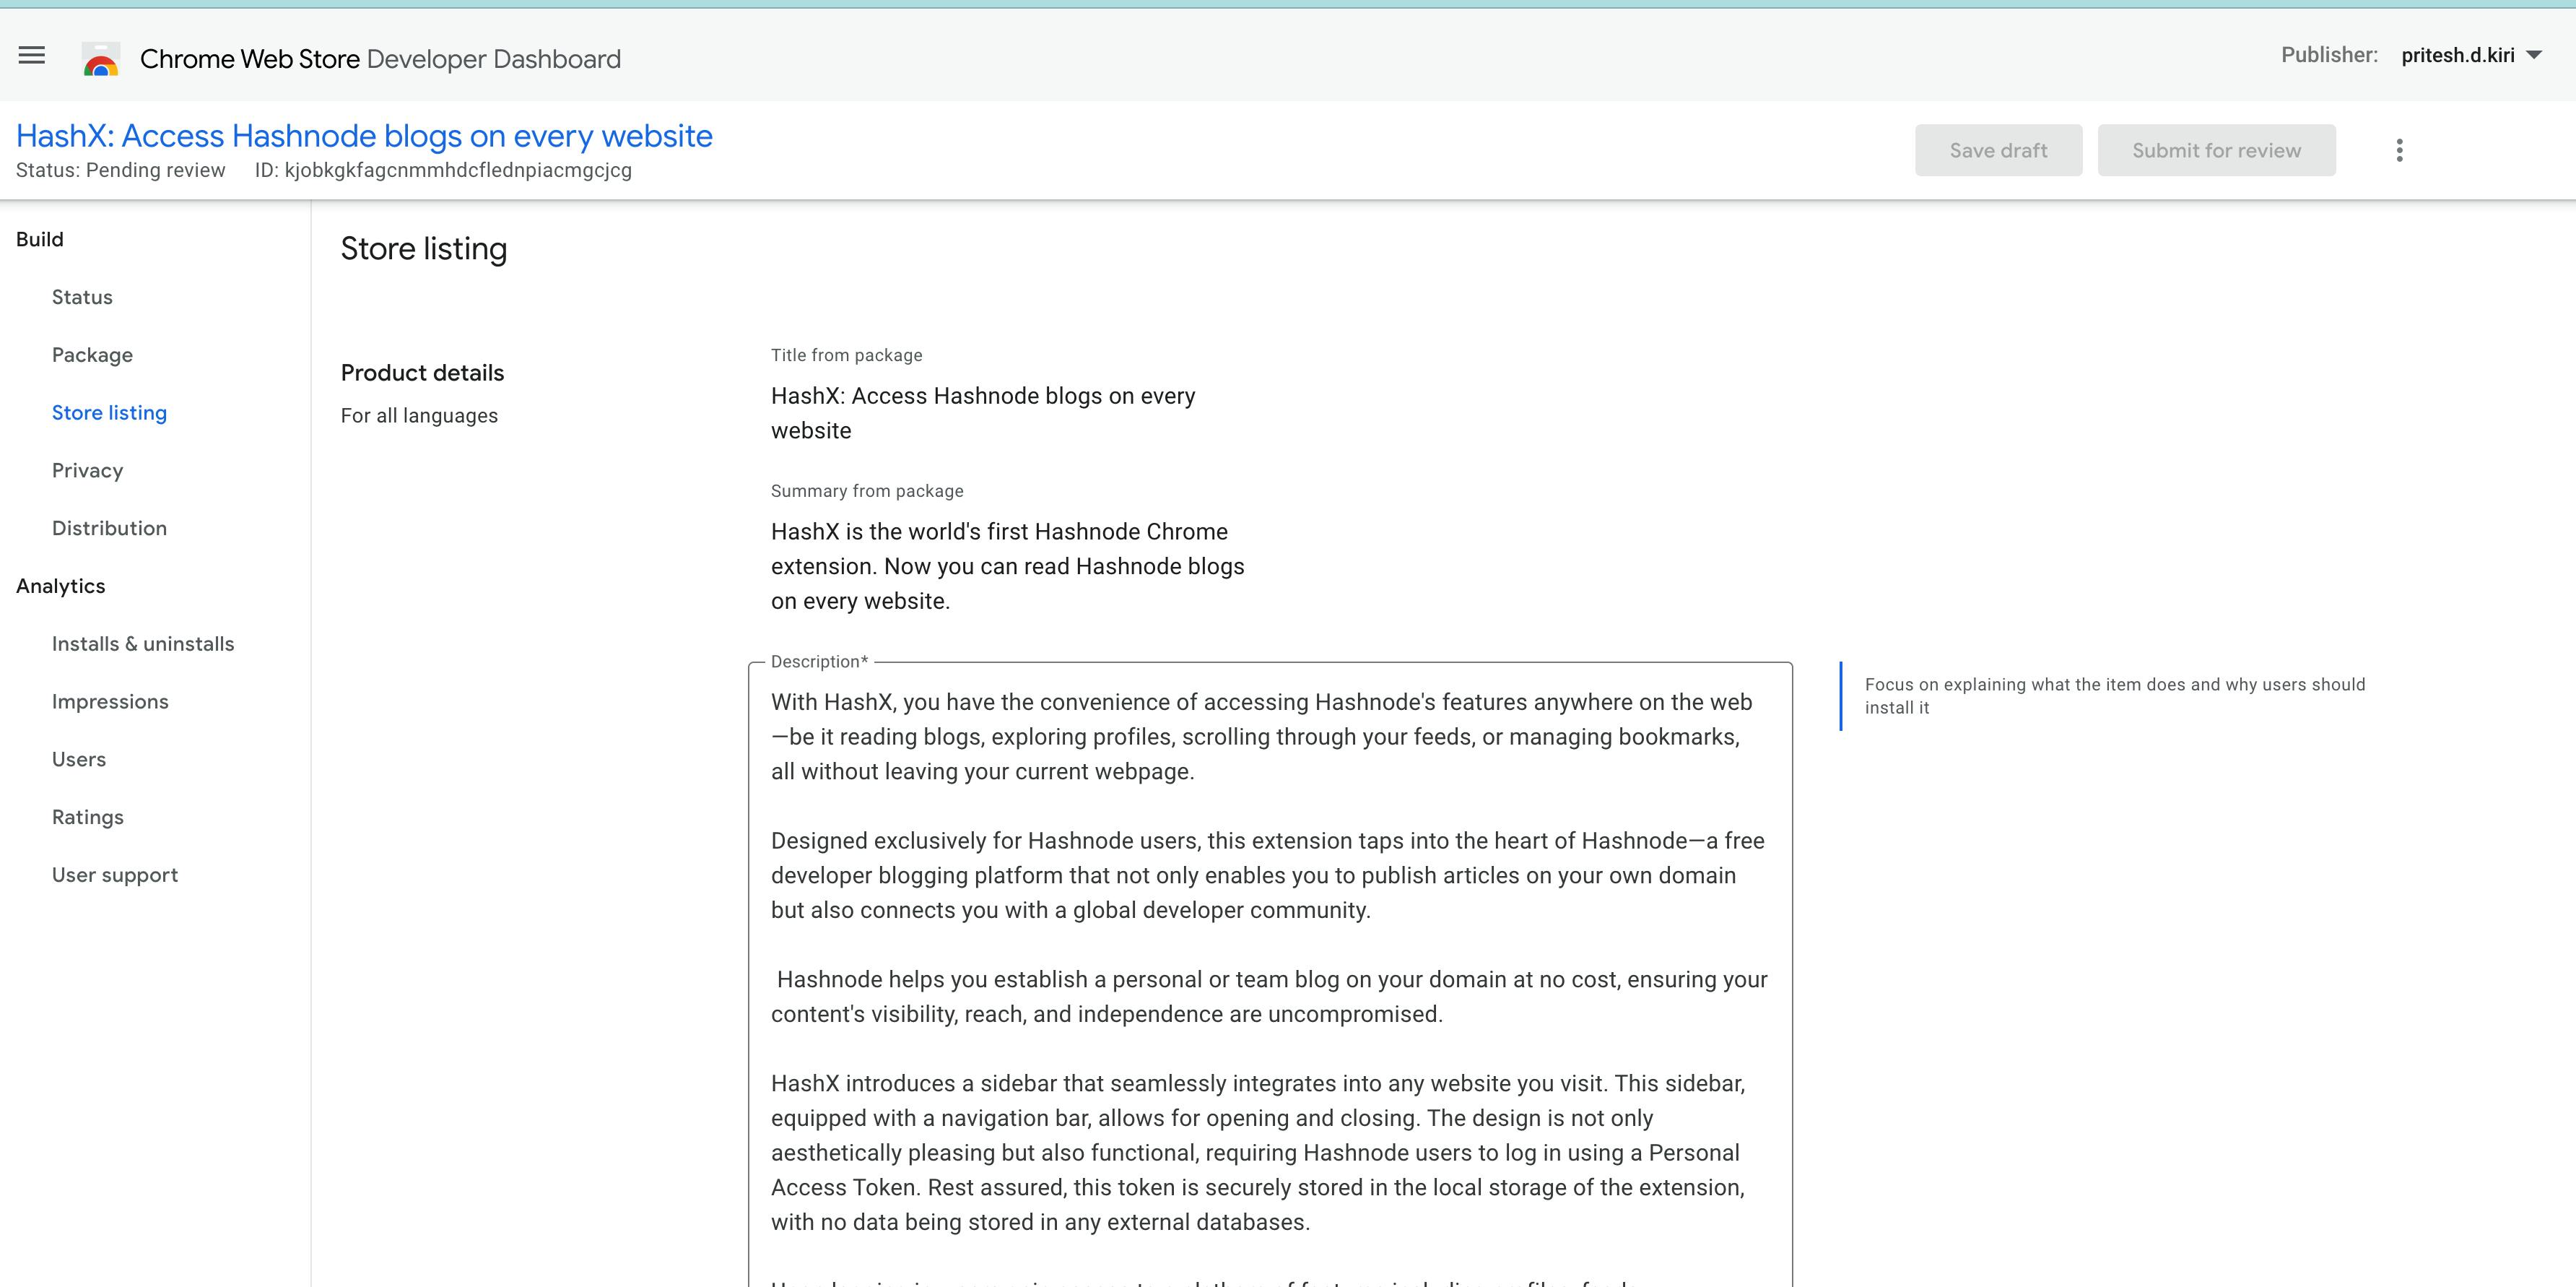
Visit the Chrome extension developer dashboard - chrome://extensions
The dashboard looks like this with all your installed extensions.

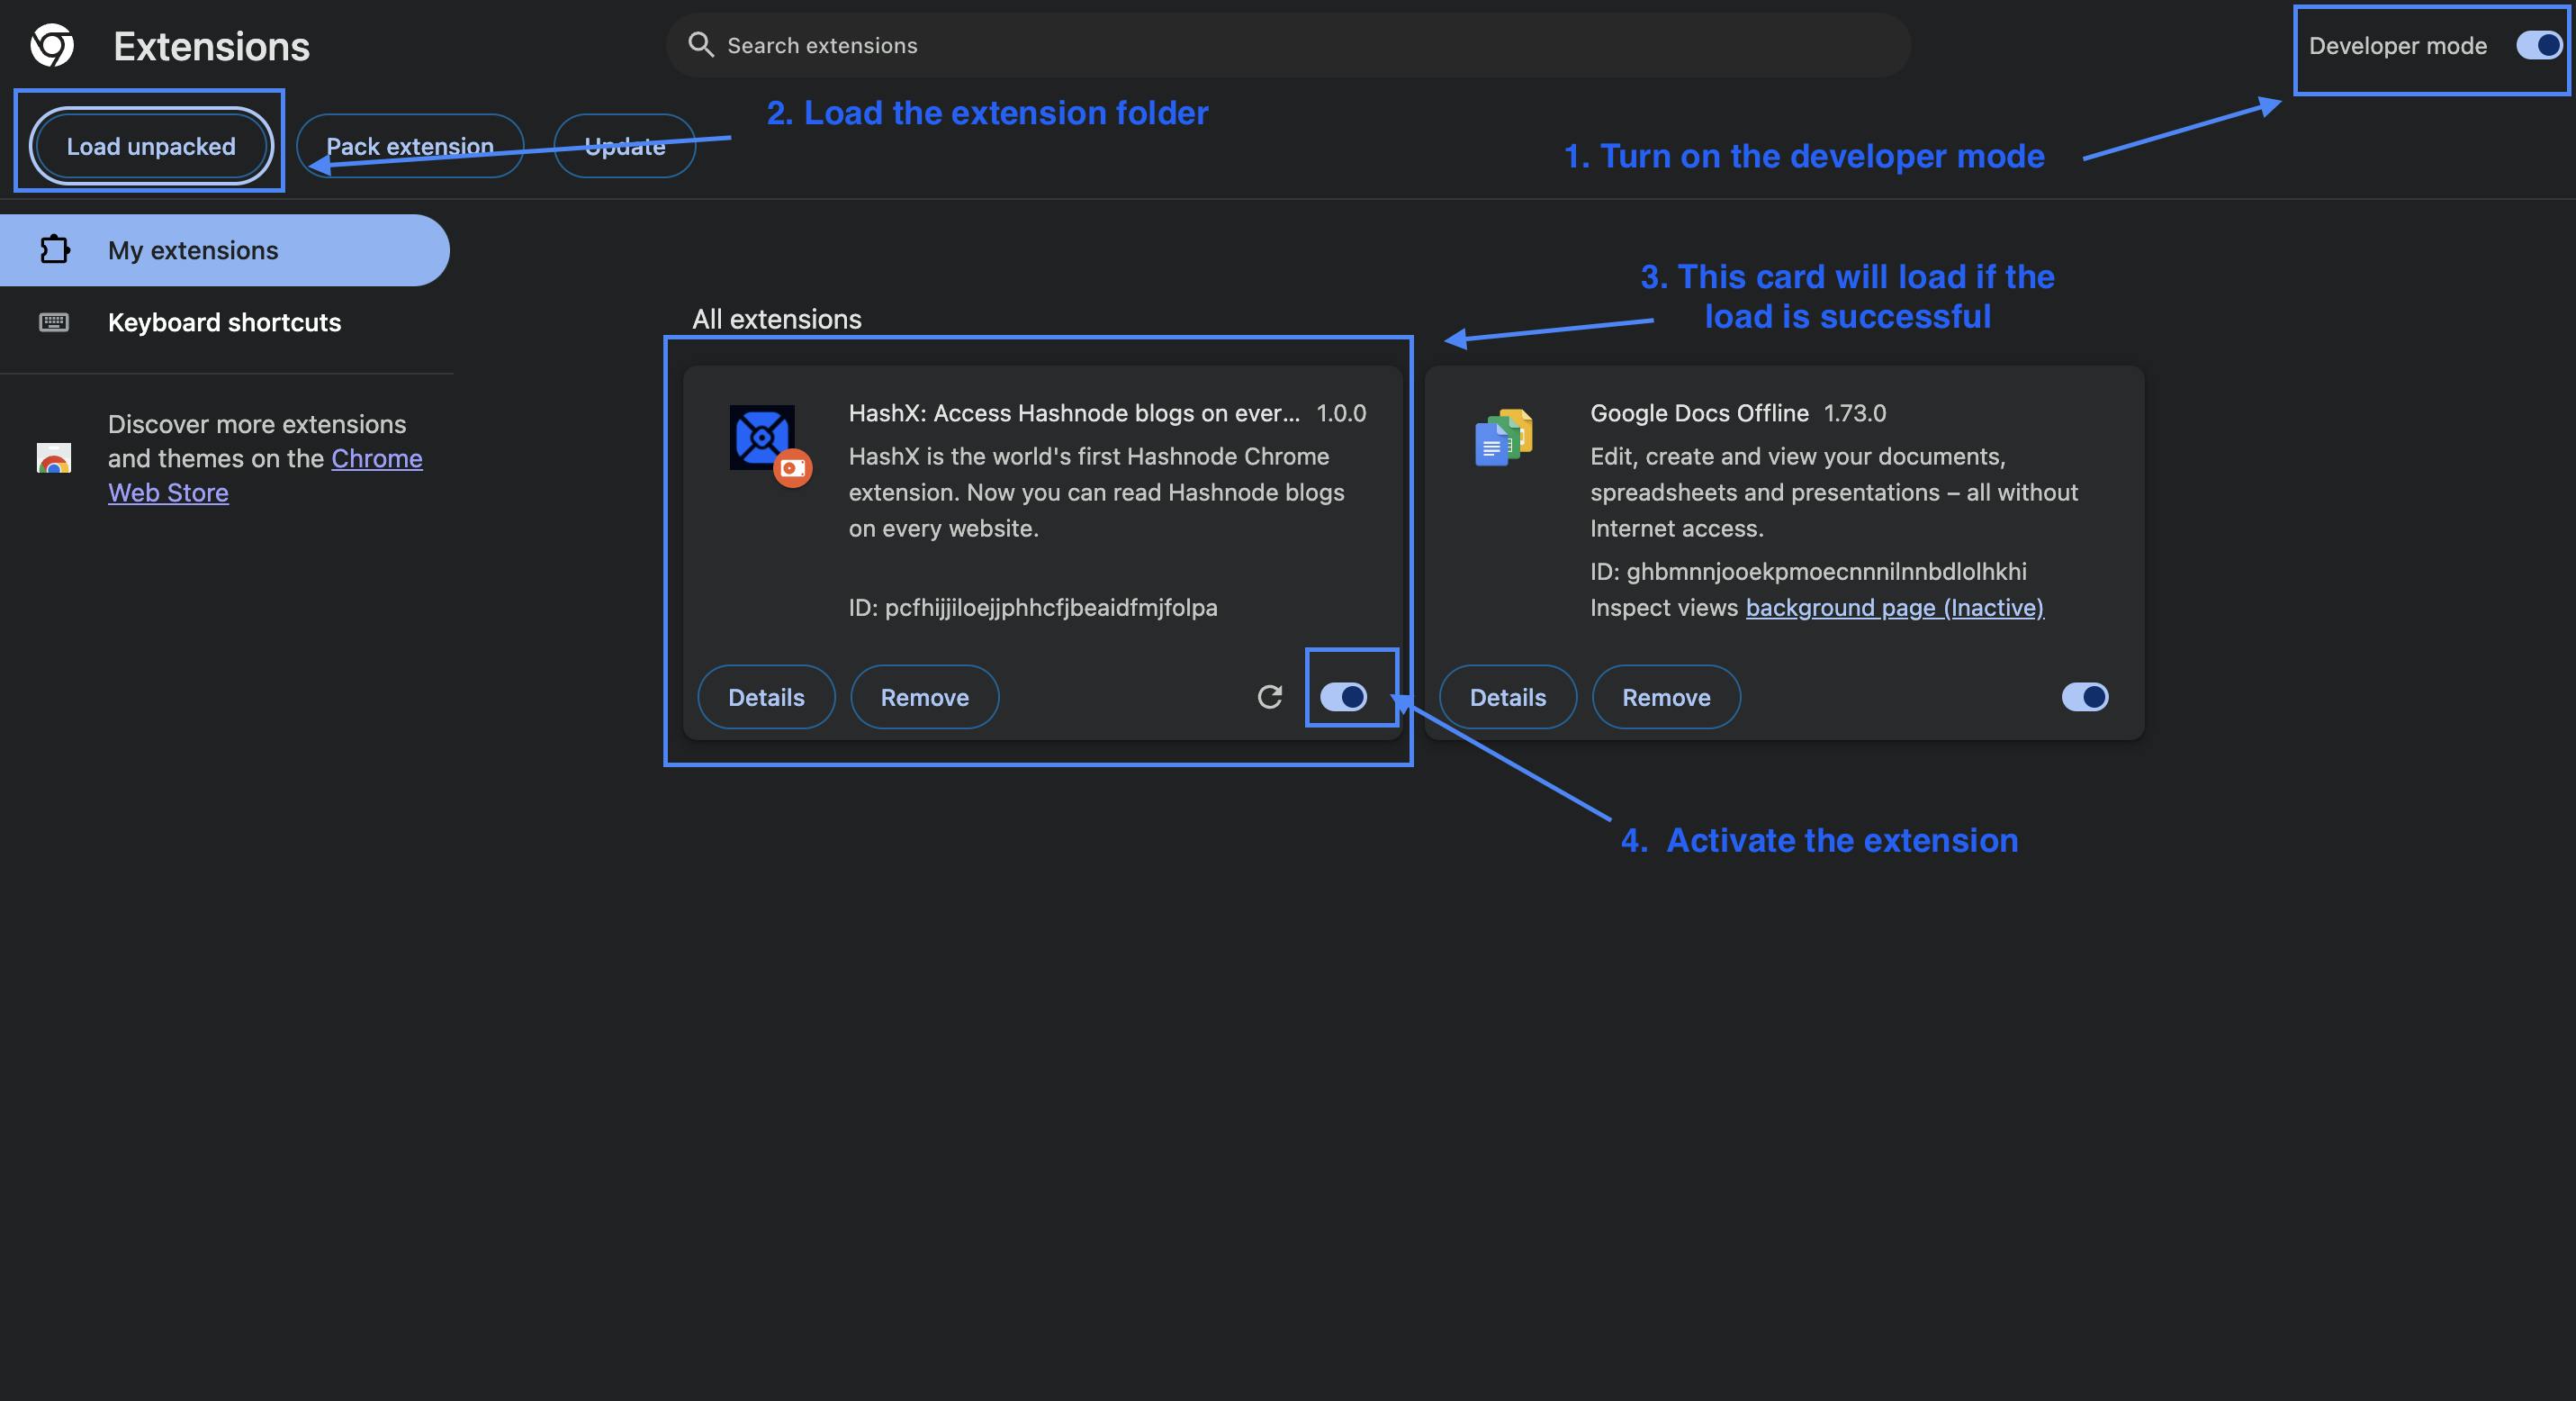
Step - 3
Turn on the developer mode at the top right corner of the dashboard.
Click on the Load upacked button on the top left and upload the extension folder from the cloned file here.
Once done, HashX card will be shown in the dashboard.
Step - 4
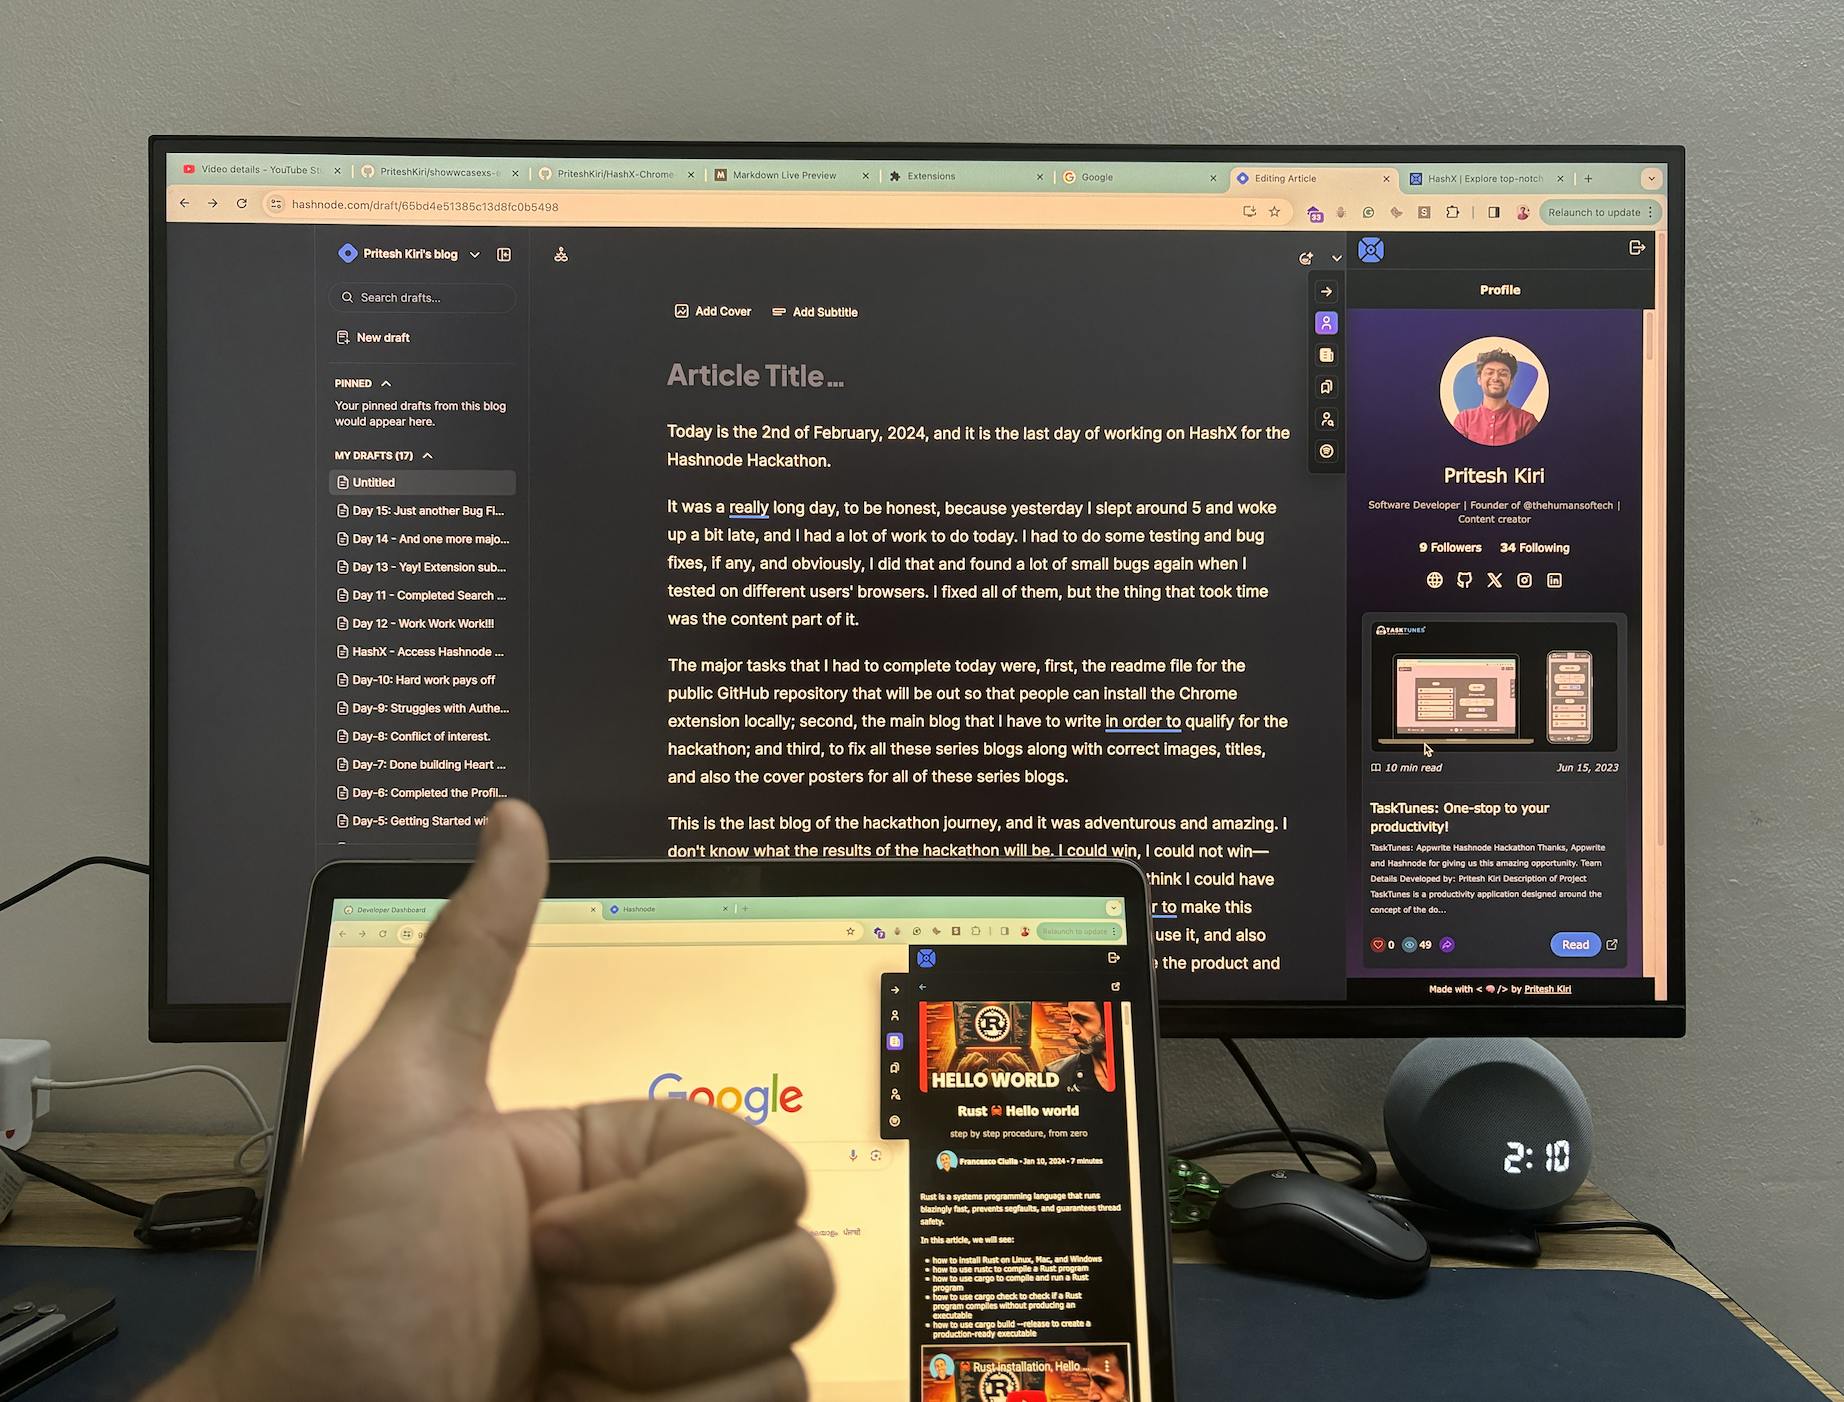
- Pin the extension, visit any website, and refresh. It will open a small side nav bar on the browser. Like this 👇
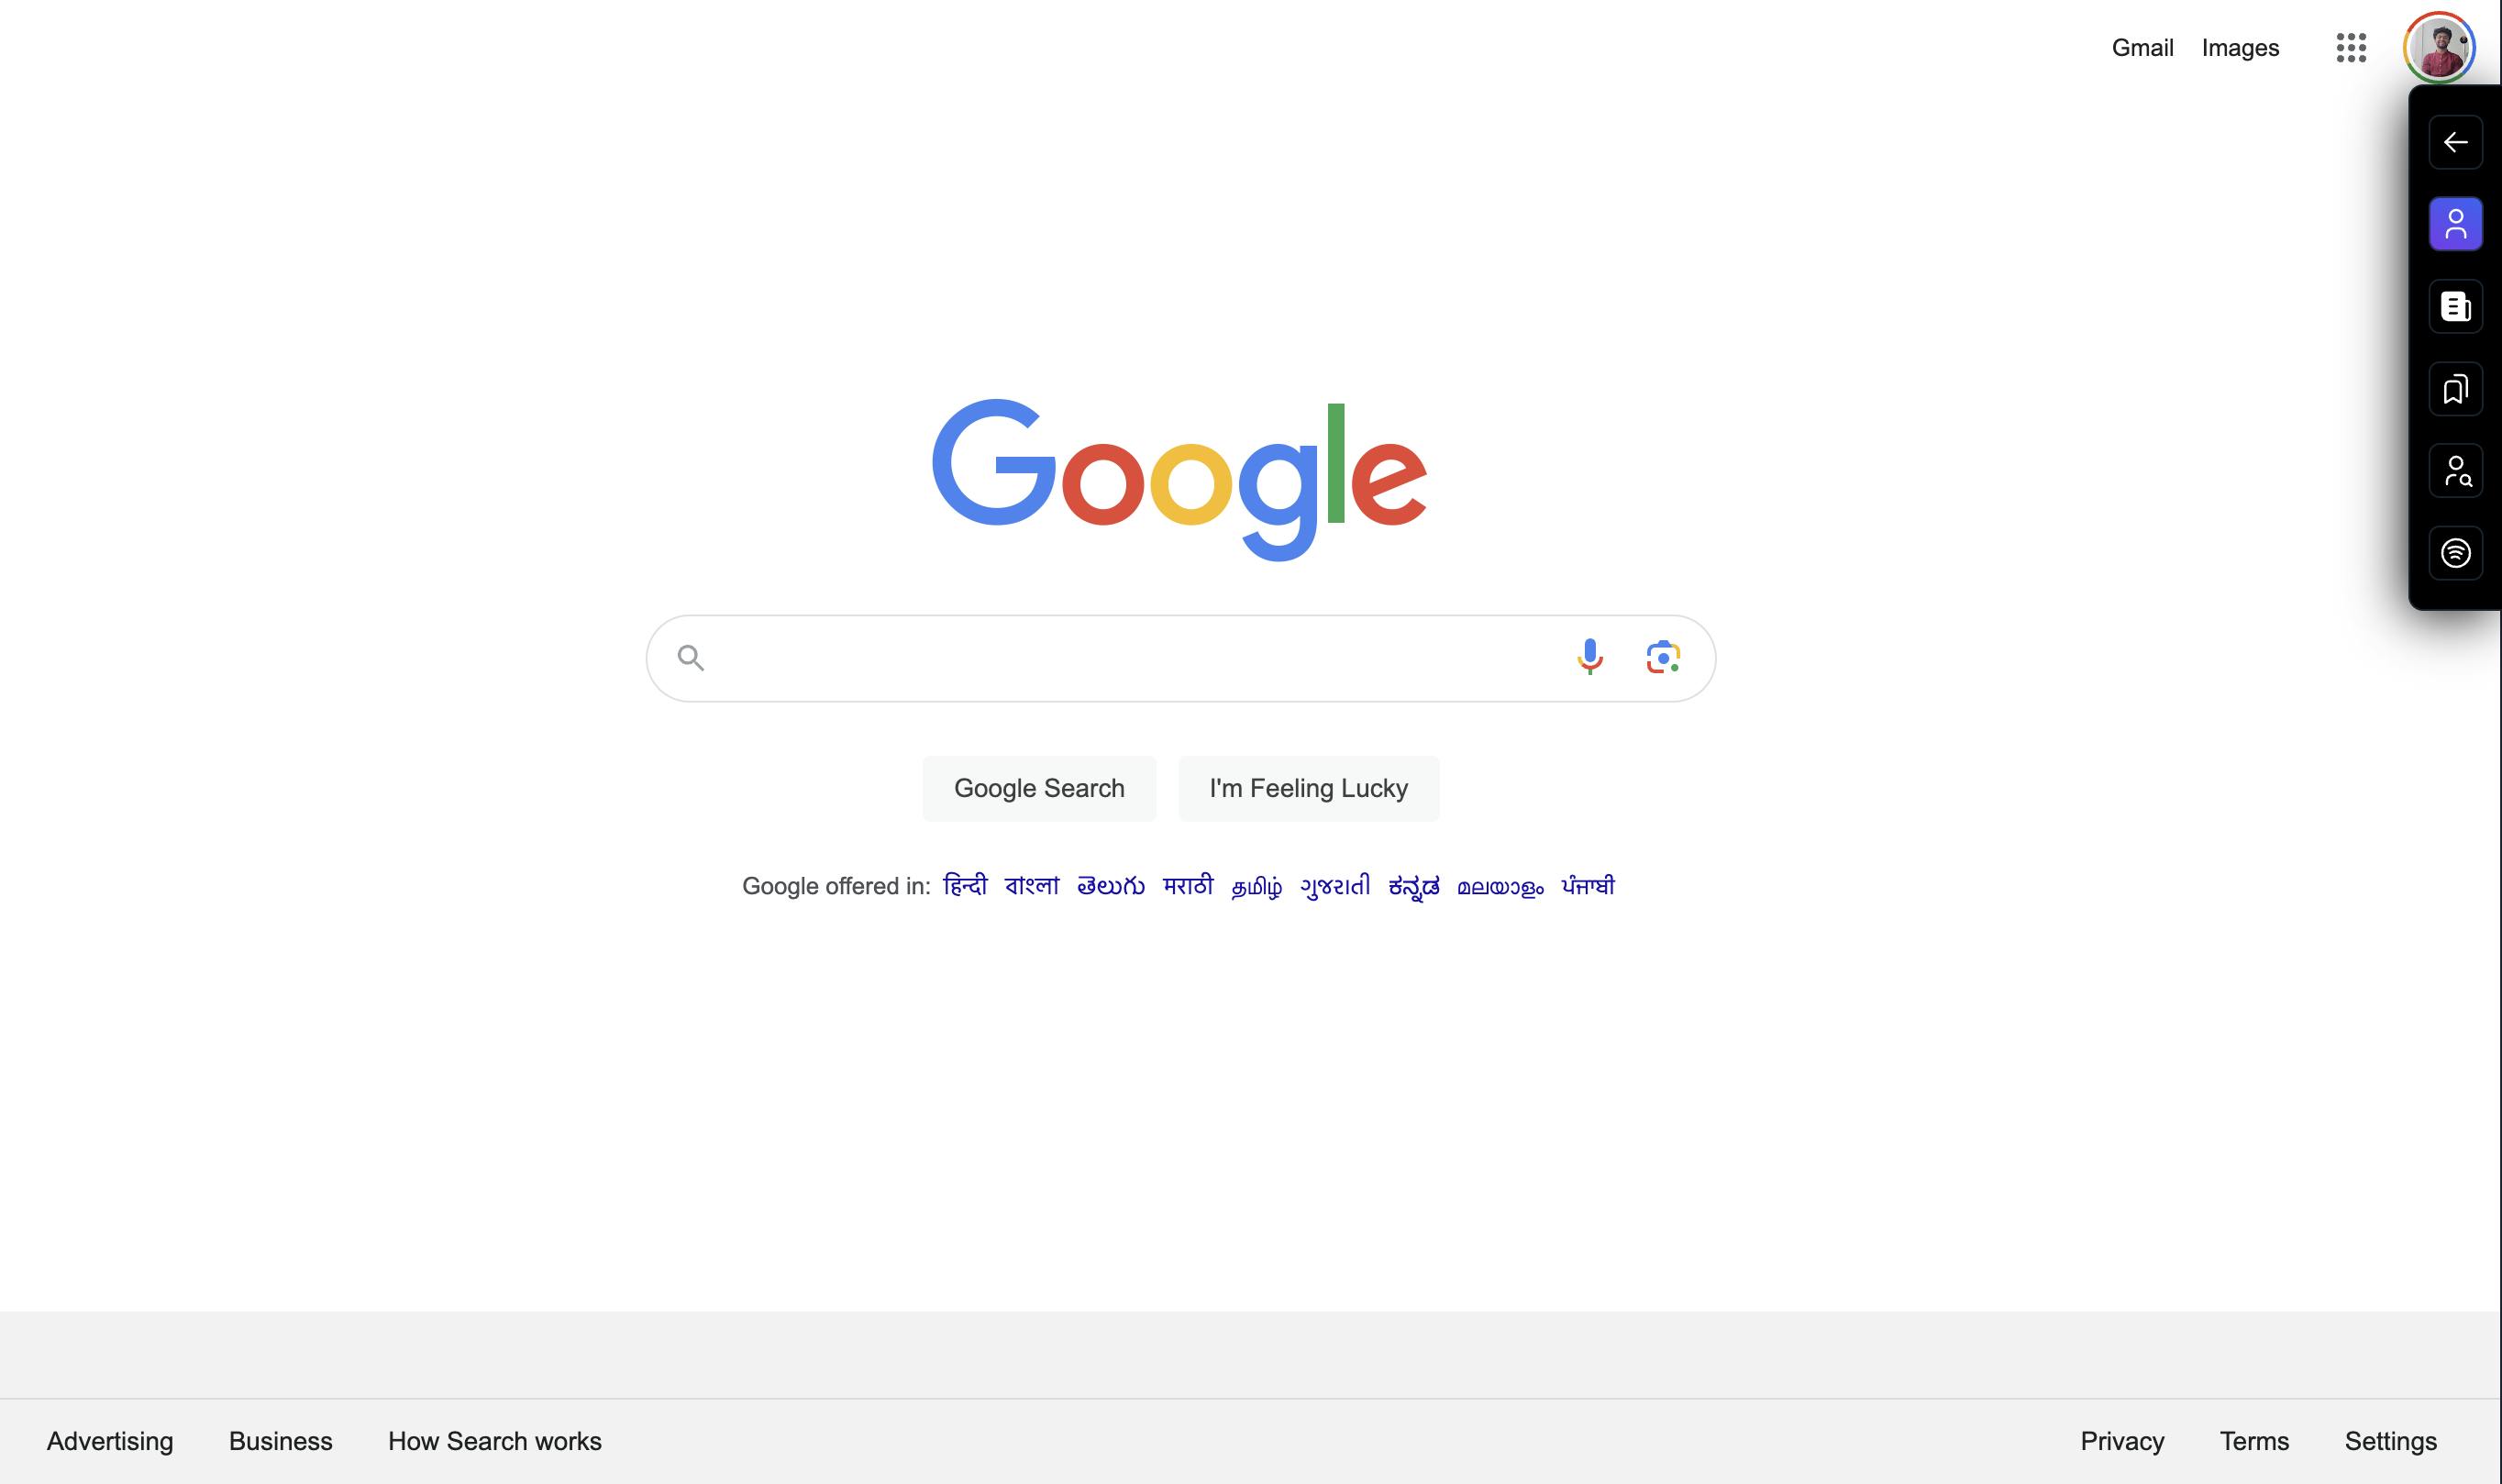
Step - 5
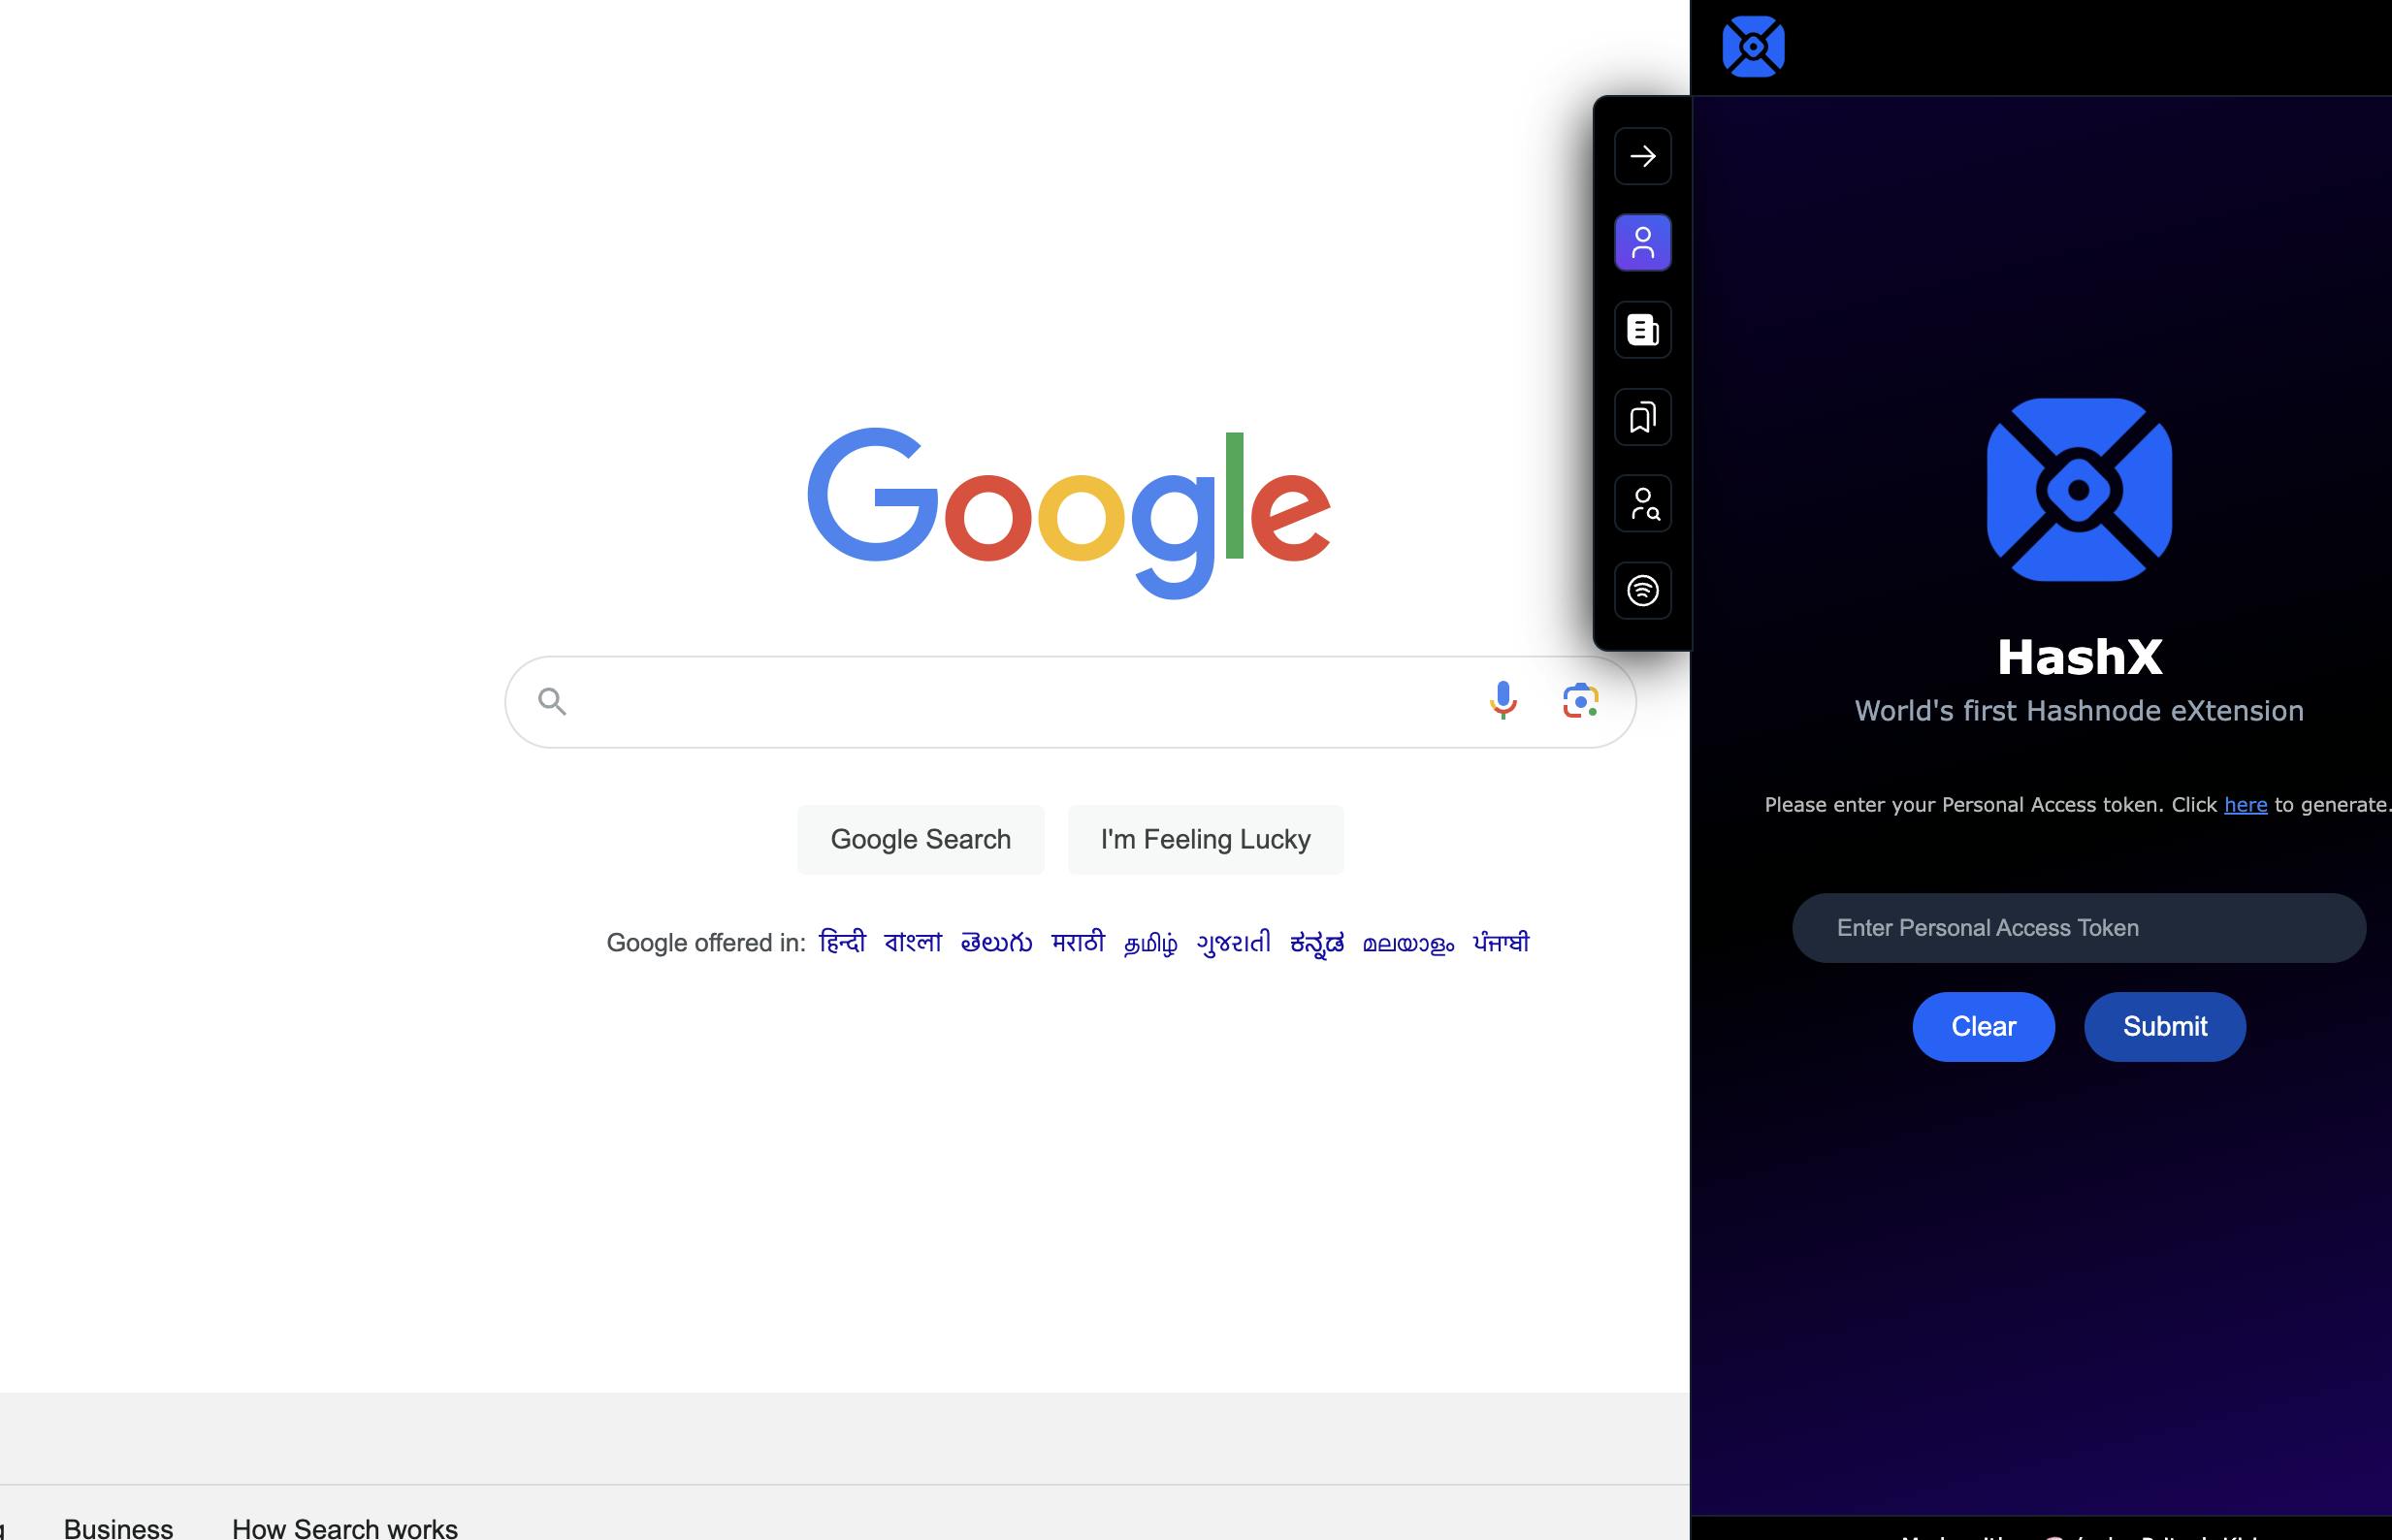
Open the sidebar by clicking on the arrow icon and log in by entering the
personal access tokenfrom your Hashnode account.If you click on "here" on the login screen, it will take you to the
personal access tokenscreen.Generate or copy and paste it here and you are good to go.
- You can also follow the installation guide in this Github Readme of the extension repository. Once this review on the Chrome web store is over, the extension will be published :)
Now, let's answer the basic question that you are having in your mind.
Why should I use HashX?

A seamless user experience will keep you engaged, leading you to explore more blogs and enhance your knowledge.
If you're coding while following an article on Hashnode, simply bookmark it, and you can access it through this extension, eliminating the need to switch between tabs.
Get the latest Hashnode feeds at your fingertips, so you don't miss out on any cool tech blogs.
You can easily share articles using the "copy to clipboard" feature of HashX.
This extension is designed to enhance your article reading habits and can become your go-to platform for reading.
Future plan

The future plan is to make this an official extension of Hashnode.
The first feature I aim to implement is bookmarking a blog; for this, I need to request the Hashnode team to update their APIs to support this feature.
Currently, publications are not visible within the app; I plan to add a UI for publications in the profile section.
I also want to enable profile exploration from blogs in the future.
I want to market and brand it effectively so that one day I can launch it on Product Hunt.
Tech stack
React.js
CSS
Hashnode APIs
Chrome APIs
Next.js + Tailwind ( for landing page )
Conclusion
It was an amazing journey working on this amazing product. I hope people on Hashnode will find it useful. This was the first time I worked on the graphQL and Apollo client, got to know about a lot of crucial CSS properties and a new library in just 15 days. Only hackathons can teach things this fast.
A big thanks to Hashnode for organizing this Hackathon. Loved using well-structured Hashnode APIs.
Hope you enjoyed the blog. Feel free to share your feedback here or on my Twitter.
You can support me by buying me a cup of coffee: Buymeacoffee